# A SQLite Data Viewer
When learning programming (and that includes SQL) it's a good idea to try and type things out as you go along. Therefore your first step should be to create a SQLite database and get a program that allows you to execute SQL queries.
Fortunately, it's really quite simple!
All you have to do is go to this link and install the appropriate package: https://sqlitebrowser.org/dl/ (opens new window)
On Windows, I recommend downloading the "Standard installer" appropriate for your Windows: either 32-bit or 64-bit.
# Creating our database
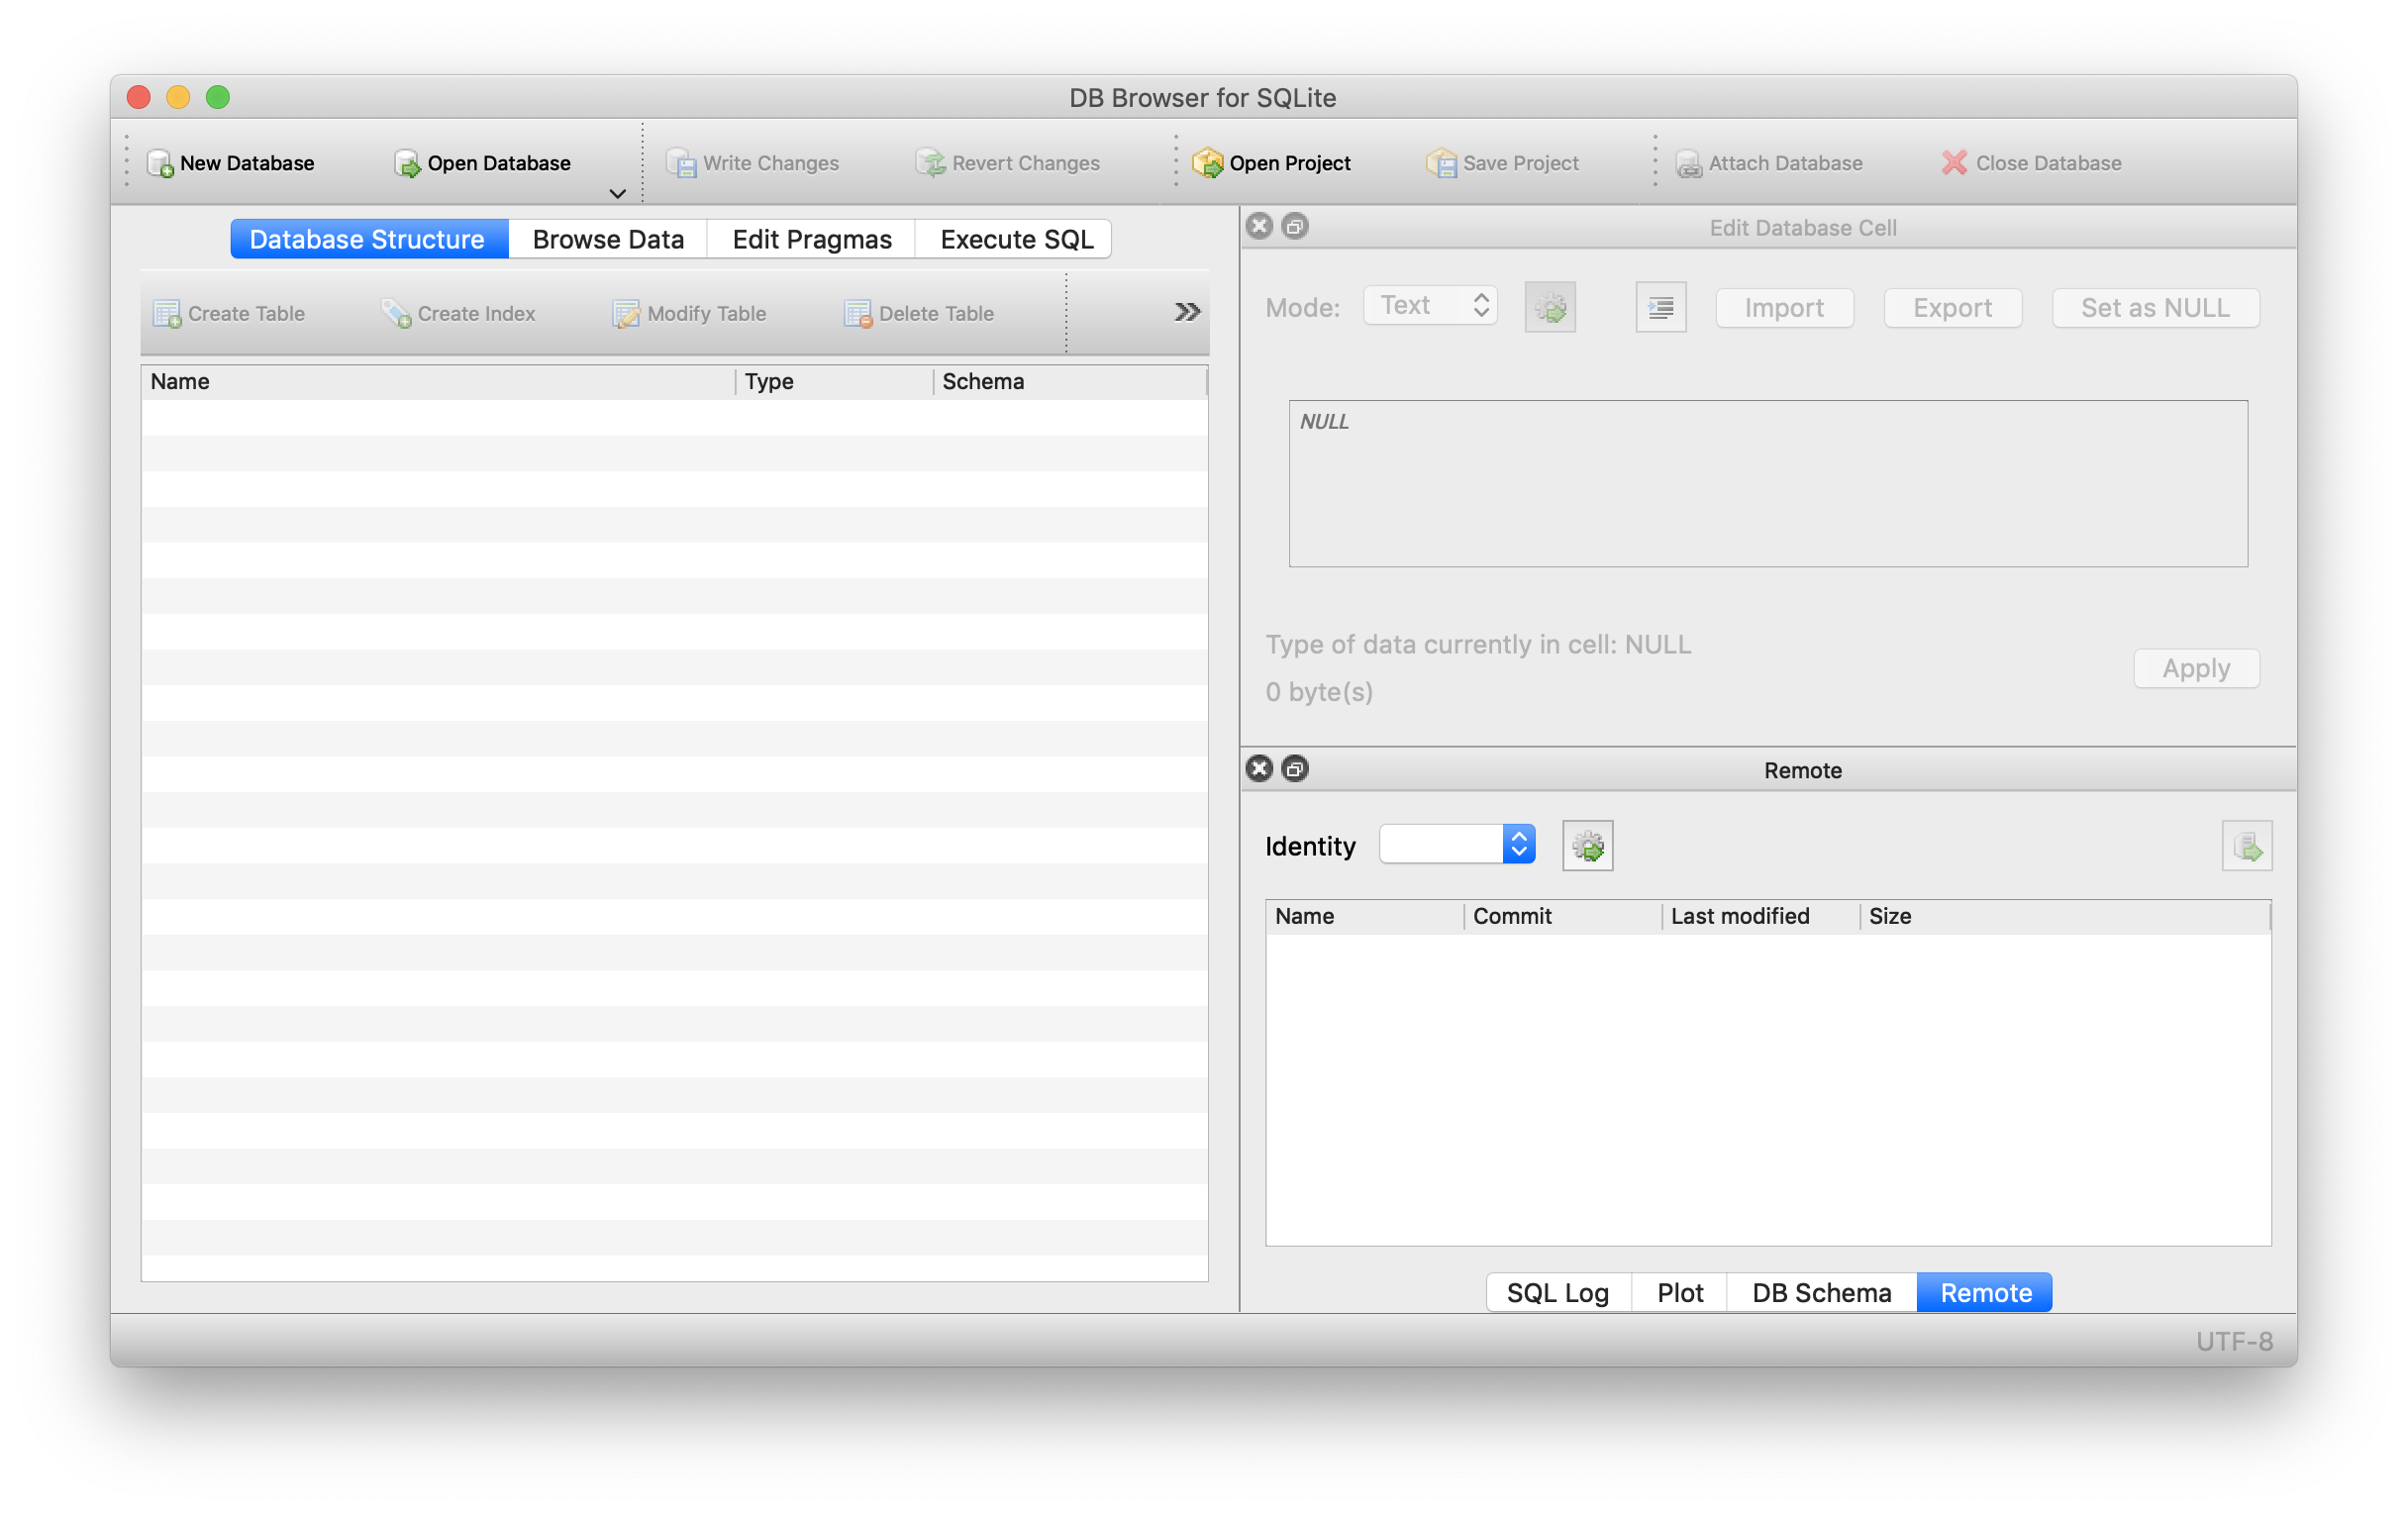
To create a database, click on the "New database" button at the top left.

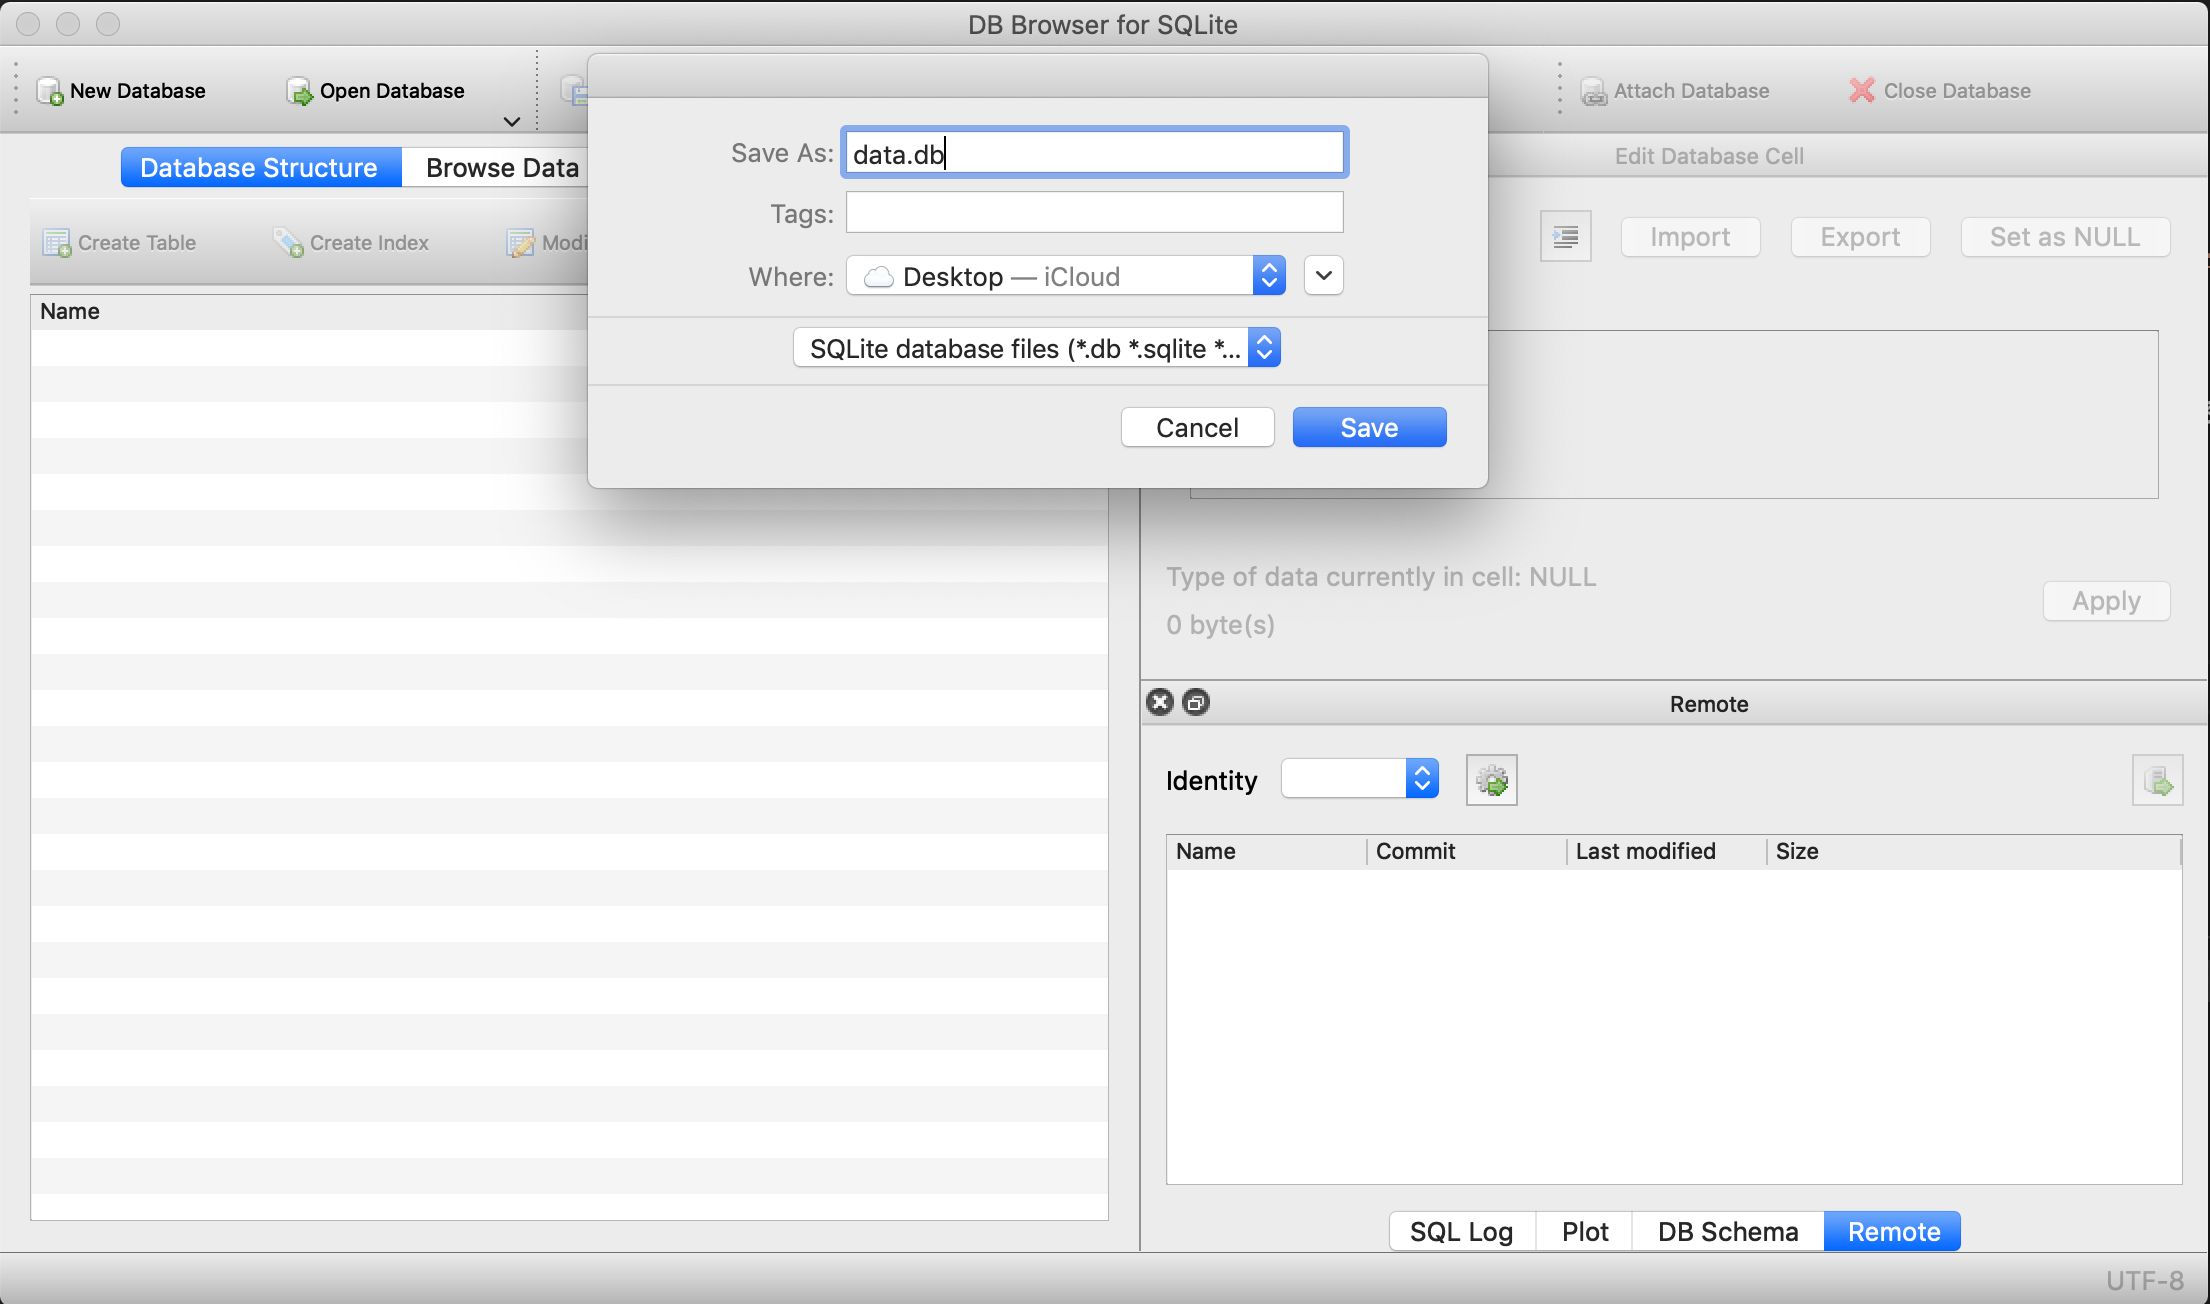
SQLite databases are stored in a single file, which means it's really easy to delete them and re-create them if you want to. For now, it doesn't matter much where you put your database as we'll be using it only to learn the fundamental commands.
I usually call my SQLite databases data.db.

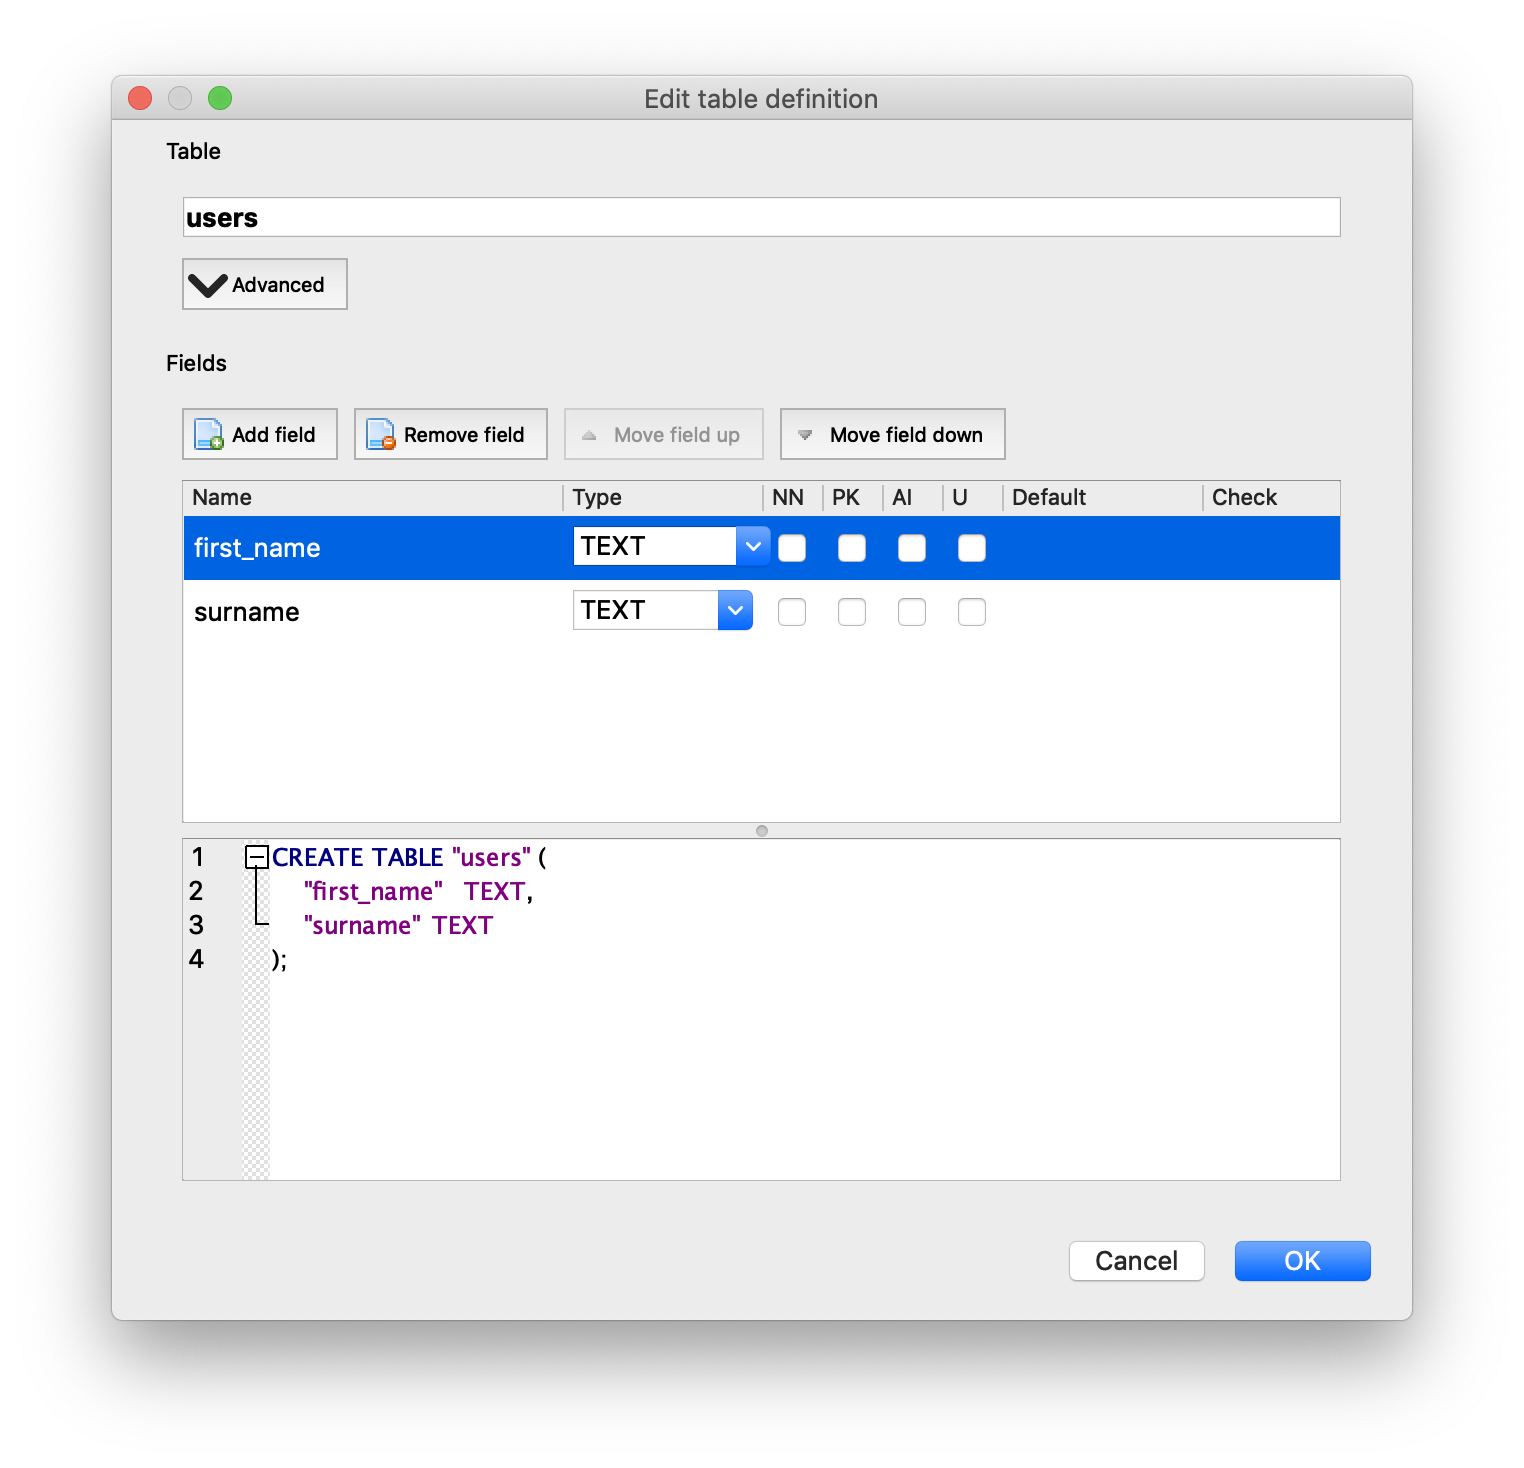
When you've created a databases, DB Browser will ask you to create a table. I'm calling it users, and giving it two columns (also called fields): first_name and surname. These should be of type TEXT, as that allows SQLite to store letters in the fields.
Other types, such as INTEGER, only allow to store whole numbers. We will be learning about these types and others as we go along.

TIP
You can always create new tables with DB Browser by clicking on the "Create Table" button after opening the "Database Structure" tab.
# Executing SQL
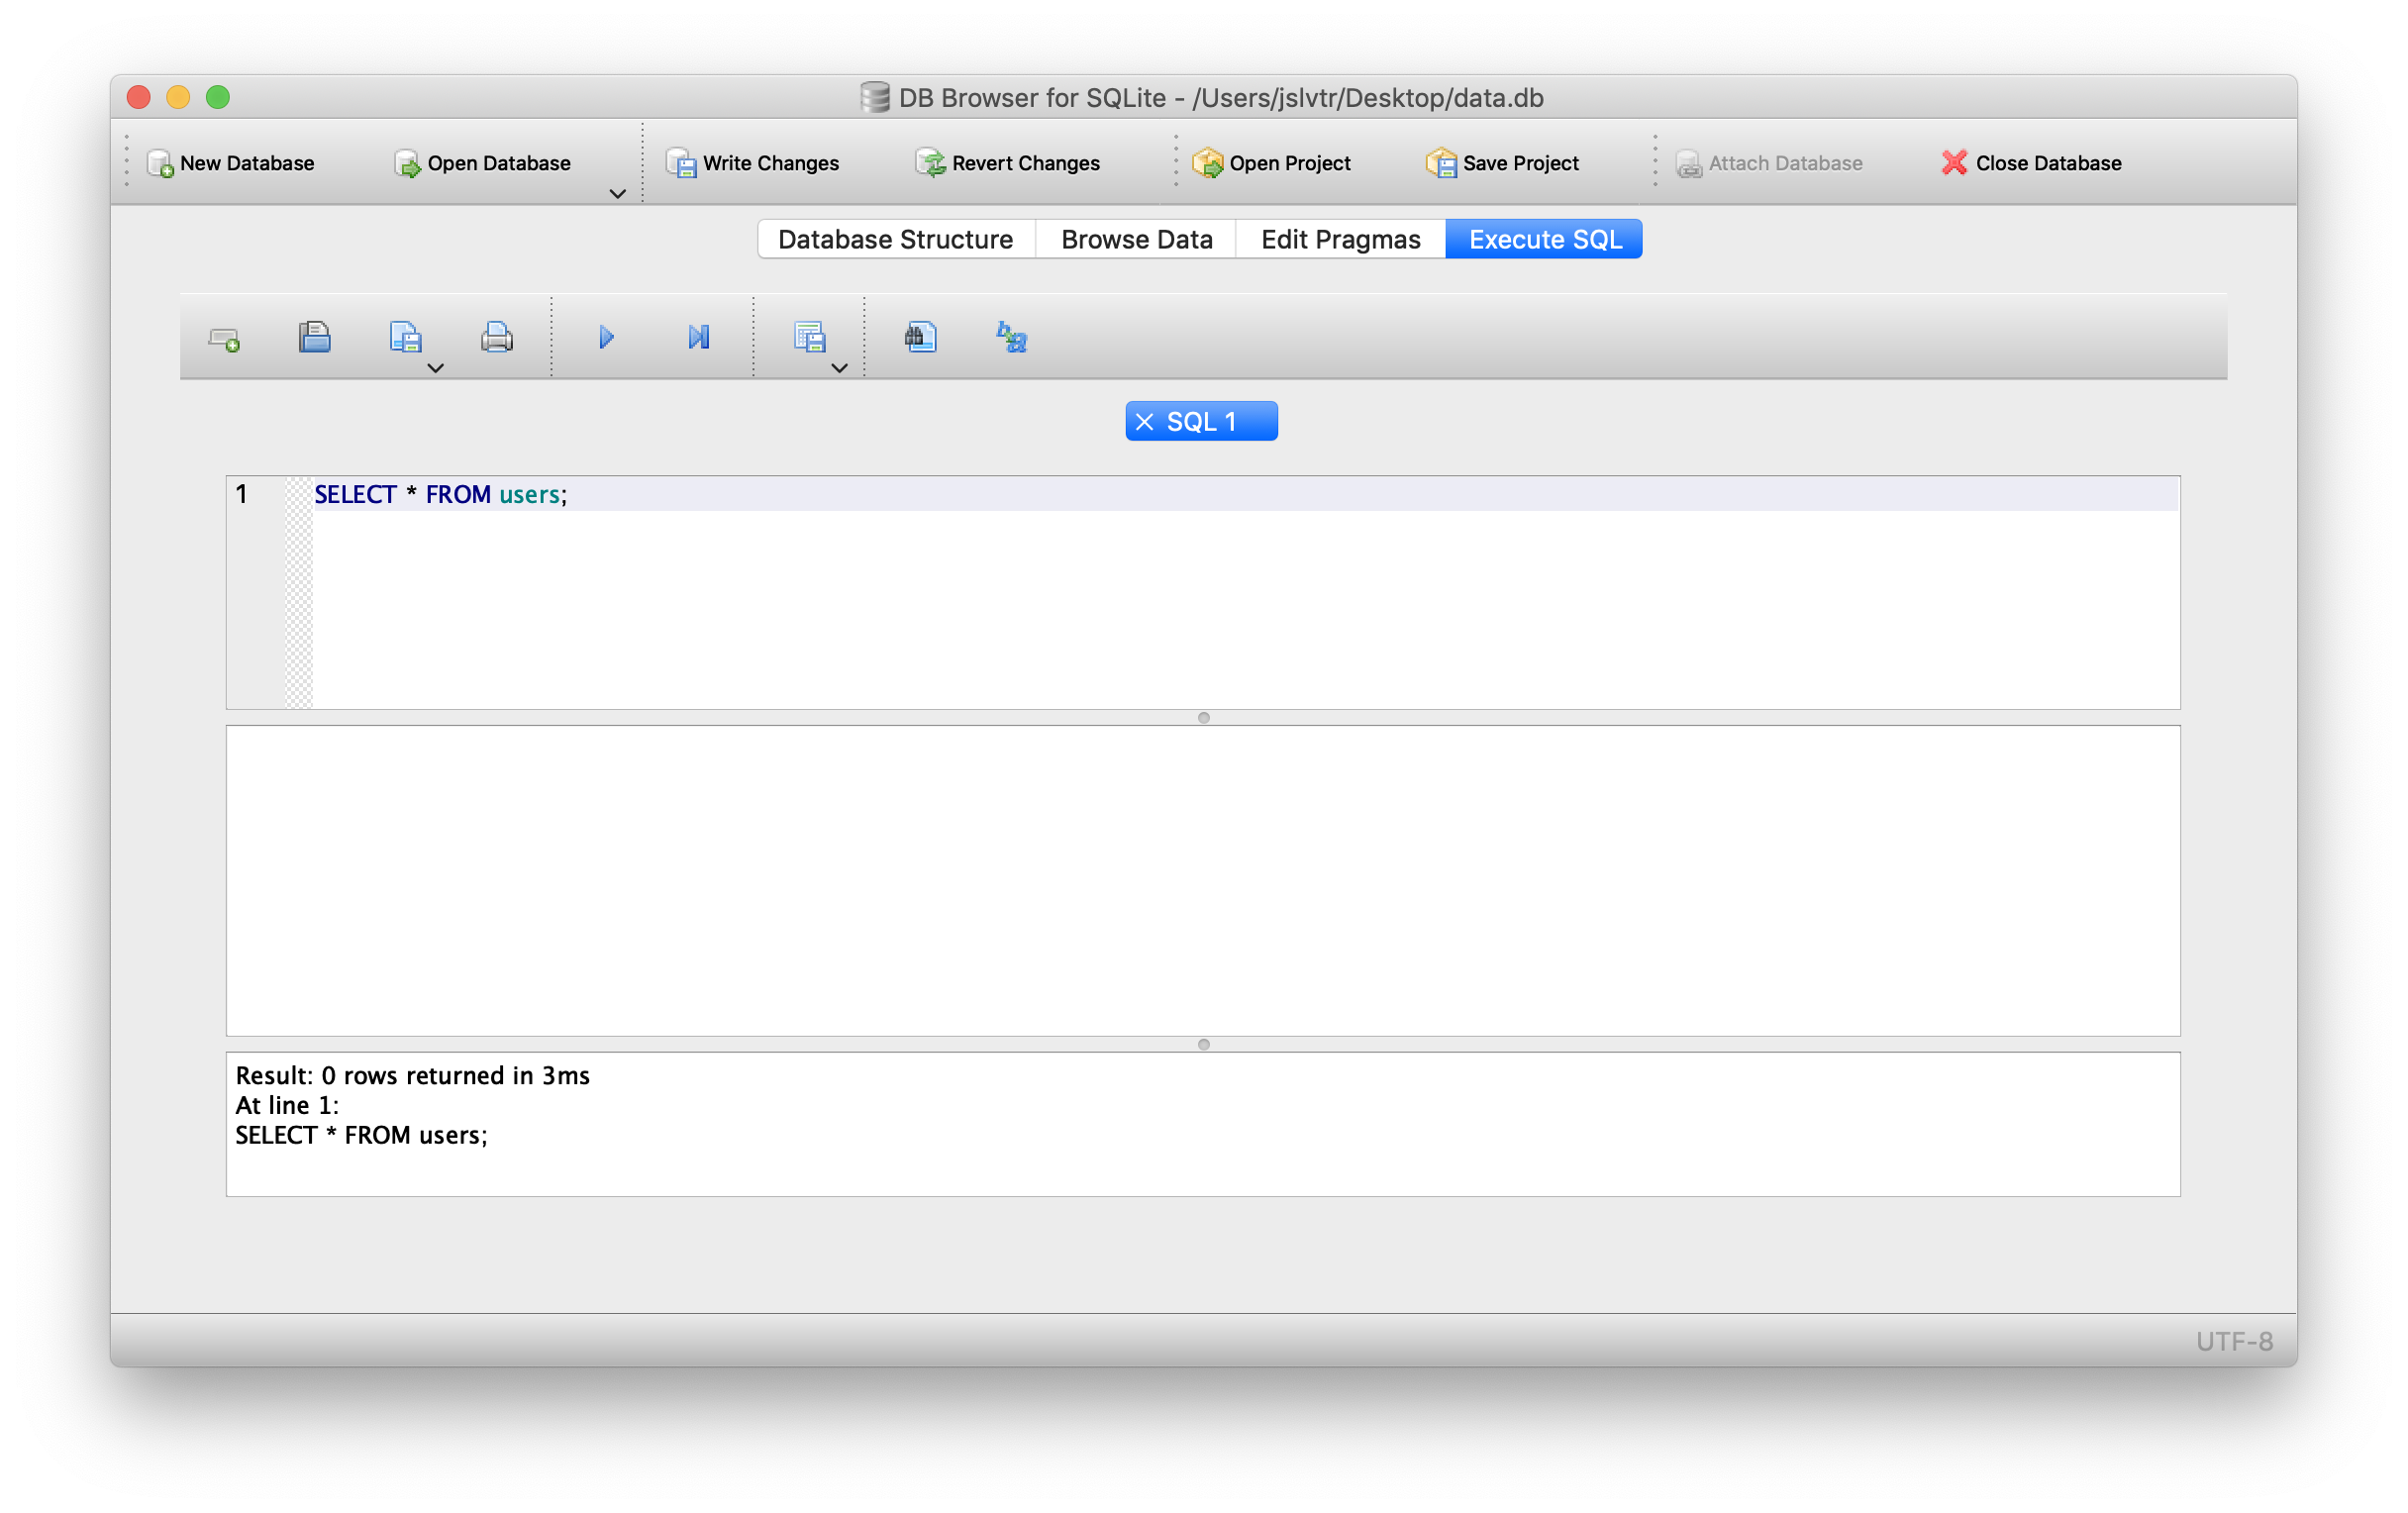
To execute SQL, you can open the "Execute SQL" tab. This may be in a slightly different place than the screenshot depending on your operating system.
You can close the side panels if you like so they don't take up space, as I have done!

In the image above, I have typed a query: SELECT * FROM users;.
This query selects all the columns (*) in the users table. By default, it also selects all the rows in the table.
Since we have no rows yet, I got a message back that says Result: 0 rows returned in 3ms.
Let's take a look at how we can create new tables using SQL, instead of going through the visual interface of DB Browser!