# How to install PostgreSQL
I'll get straight to the point: installing PostgreSQL can be tricky! There are multiple problems that can arise in the process.
That's why for this course, I'll be using a cloud PostgreSQL provider. That means that instead of installing PostgreSQL in my computer, I'll use somebody else's installation on an Internet-connected computer (a server).
Those often cost money, but the provider we'll be using today has a free tier with which we can learn more about PostgreSQL without having to go through the pain of installing.
However, I'll also include a guide detailing how to install PostgreSQL in your computer.
# Using ElephantSQL
Start by going to https://www.elephantsql.com/ (opens new window) and signing up to an account with the free tier.
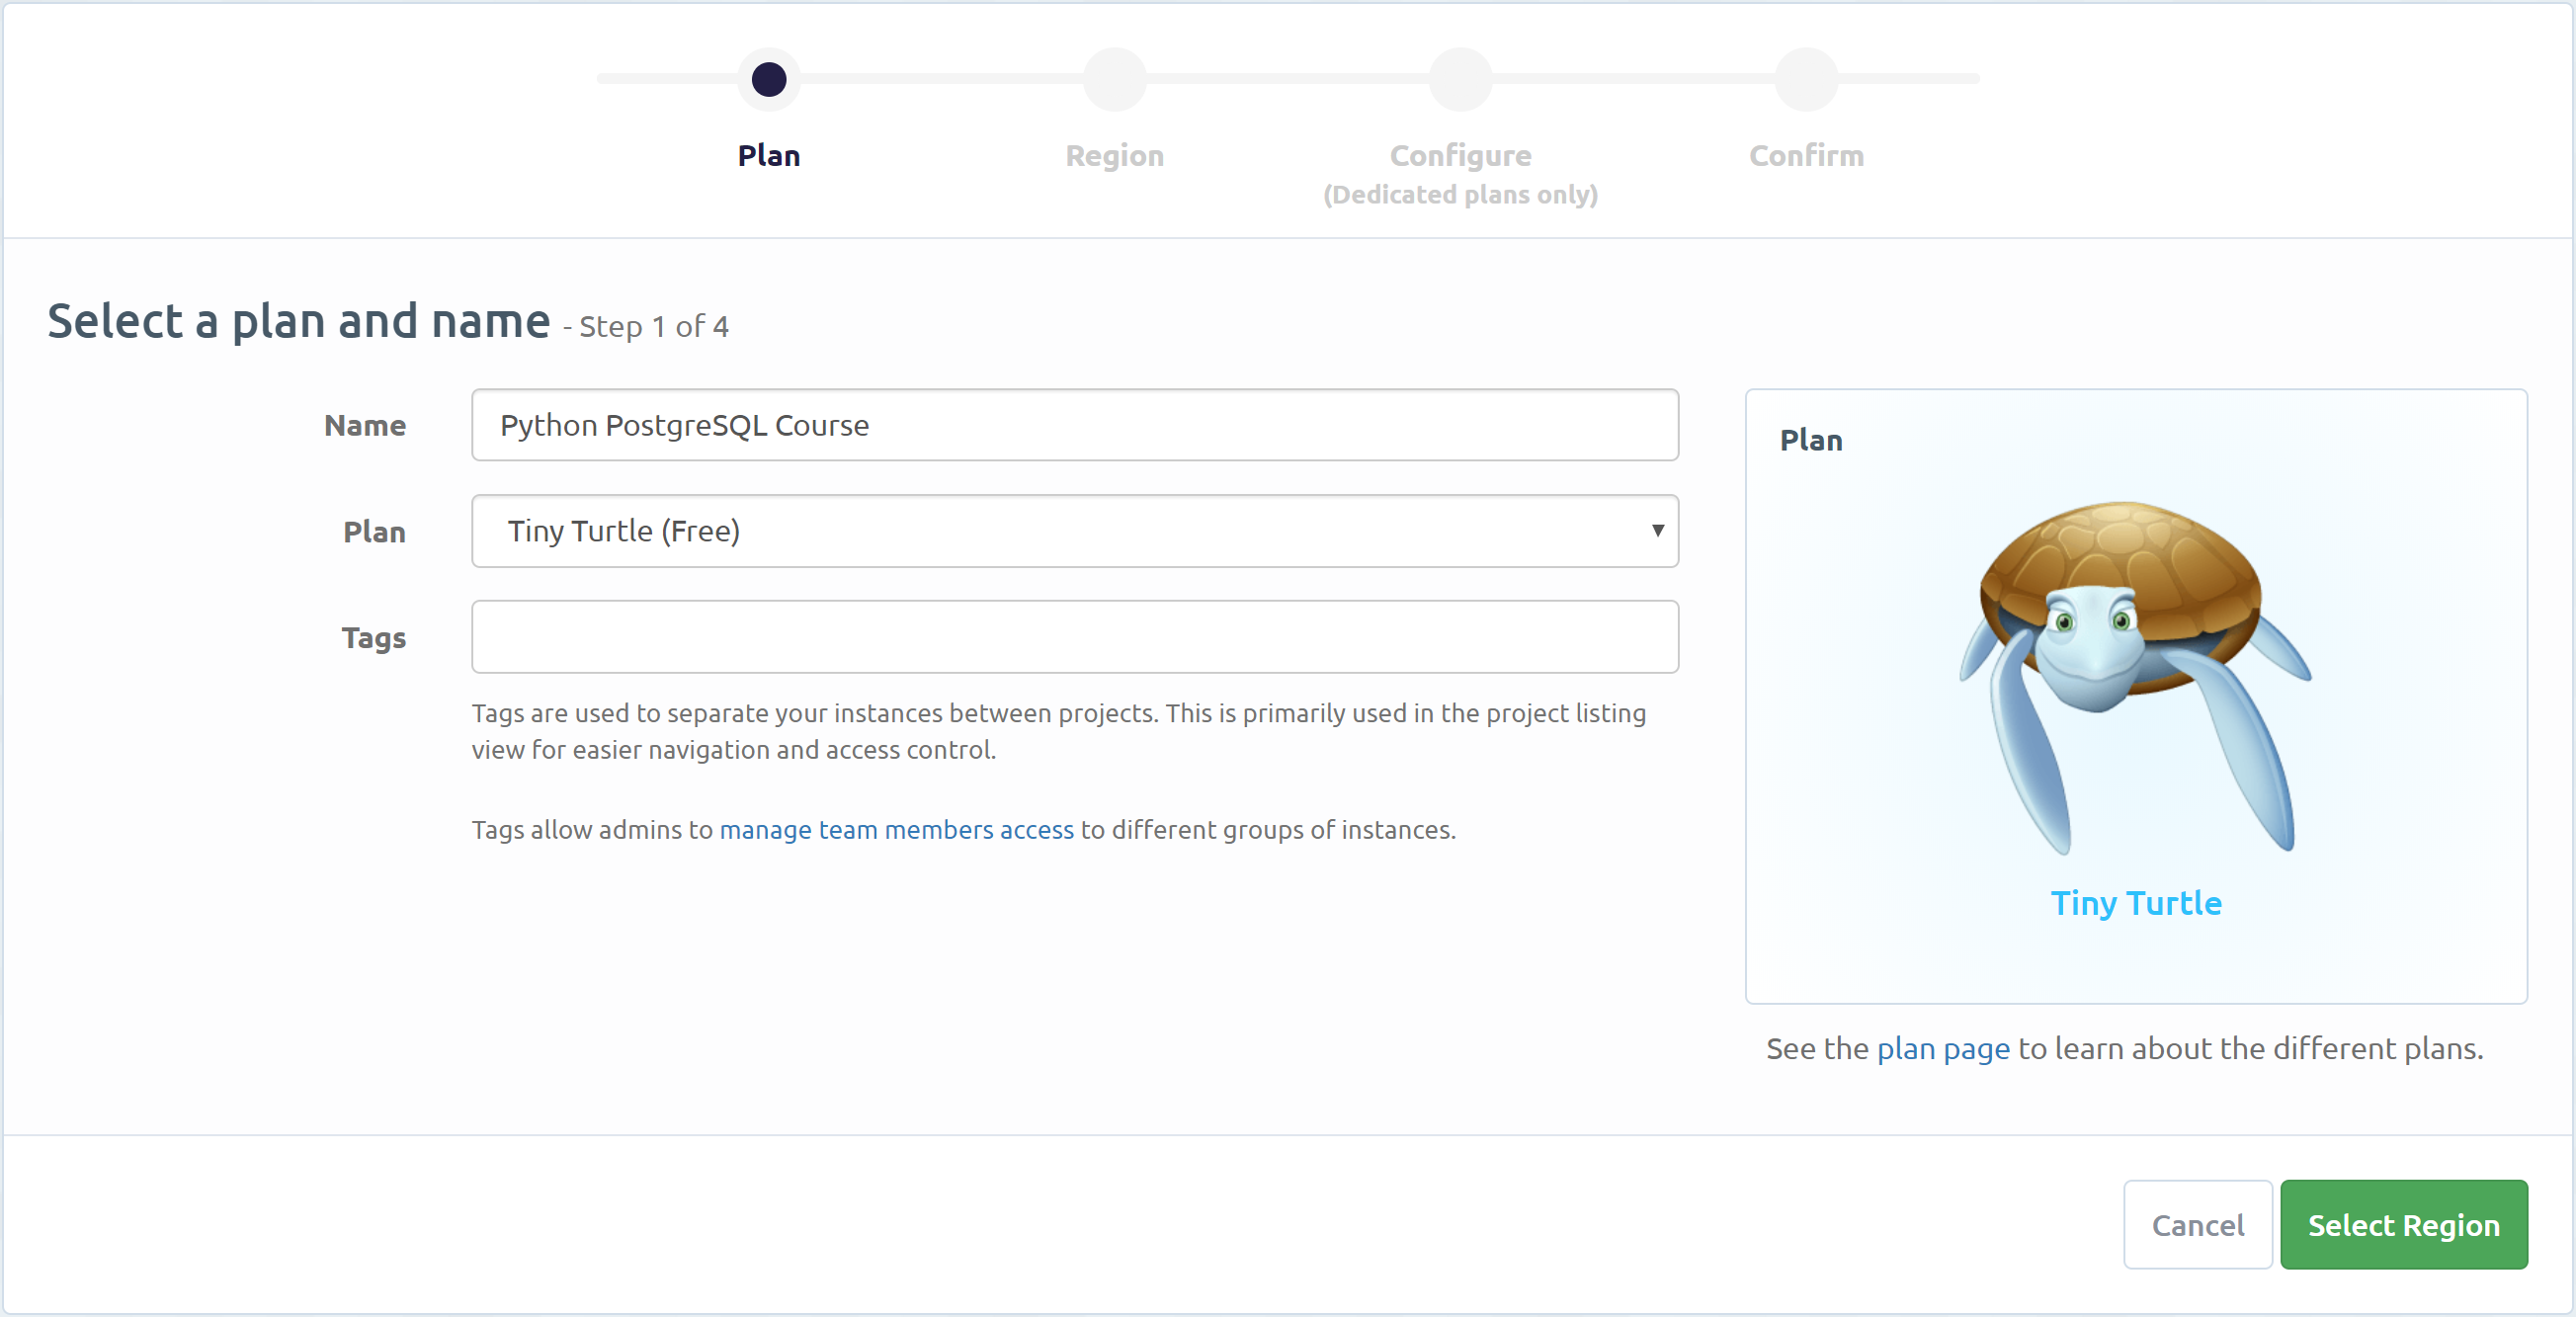
Once you've logged in, click on the "+ Create New Instance" button.
An instance is a database. On the next screen we can give it a name, as well as select a Plan. For this application, the Free plan will be plenty!
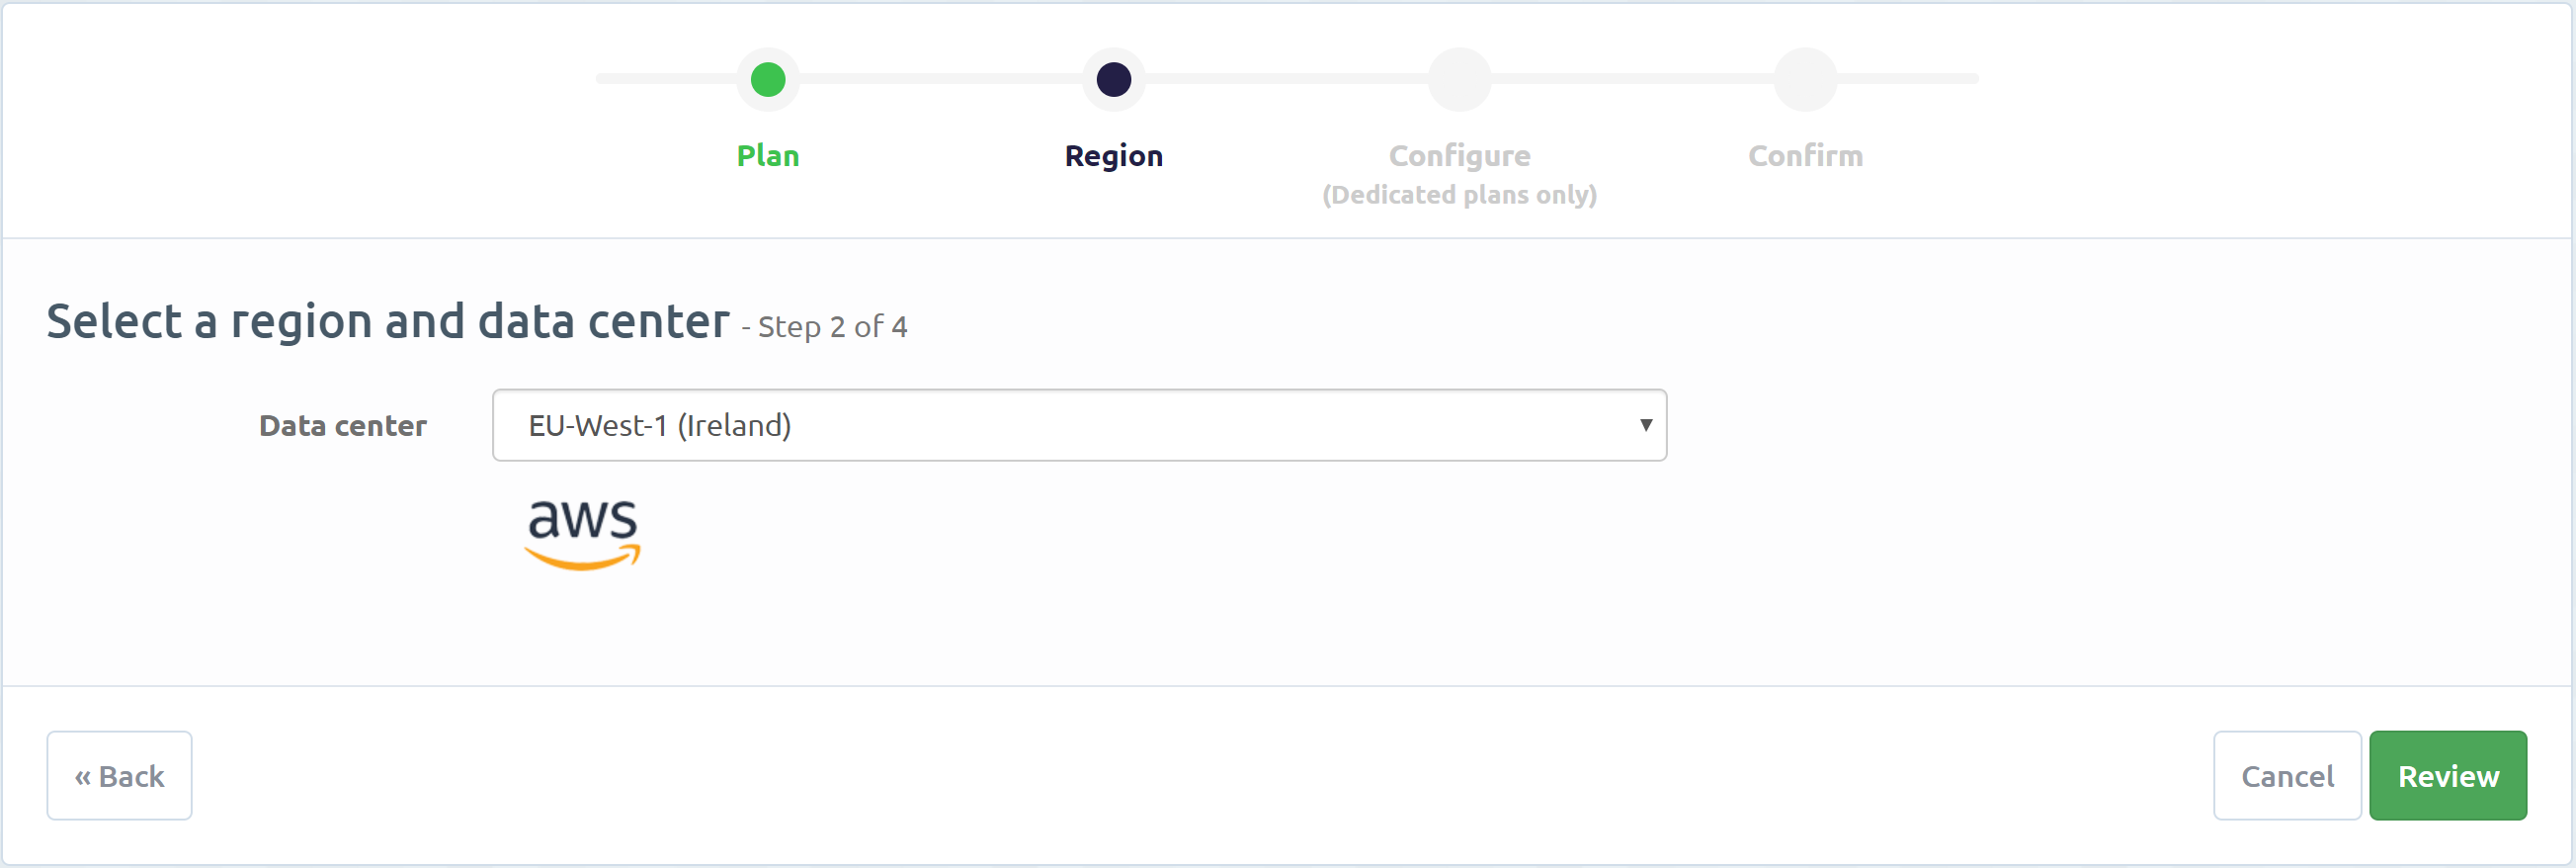
Next up, select a region. This is where your database will be located. A region near you will make accessing the database faster, so for this application choose the nearest to where you are!
Finally, review and create the instance!
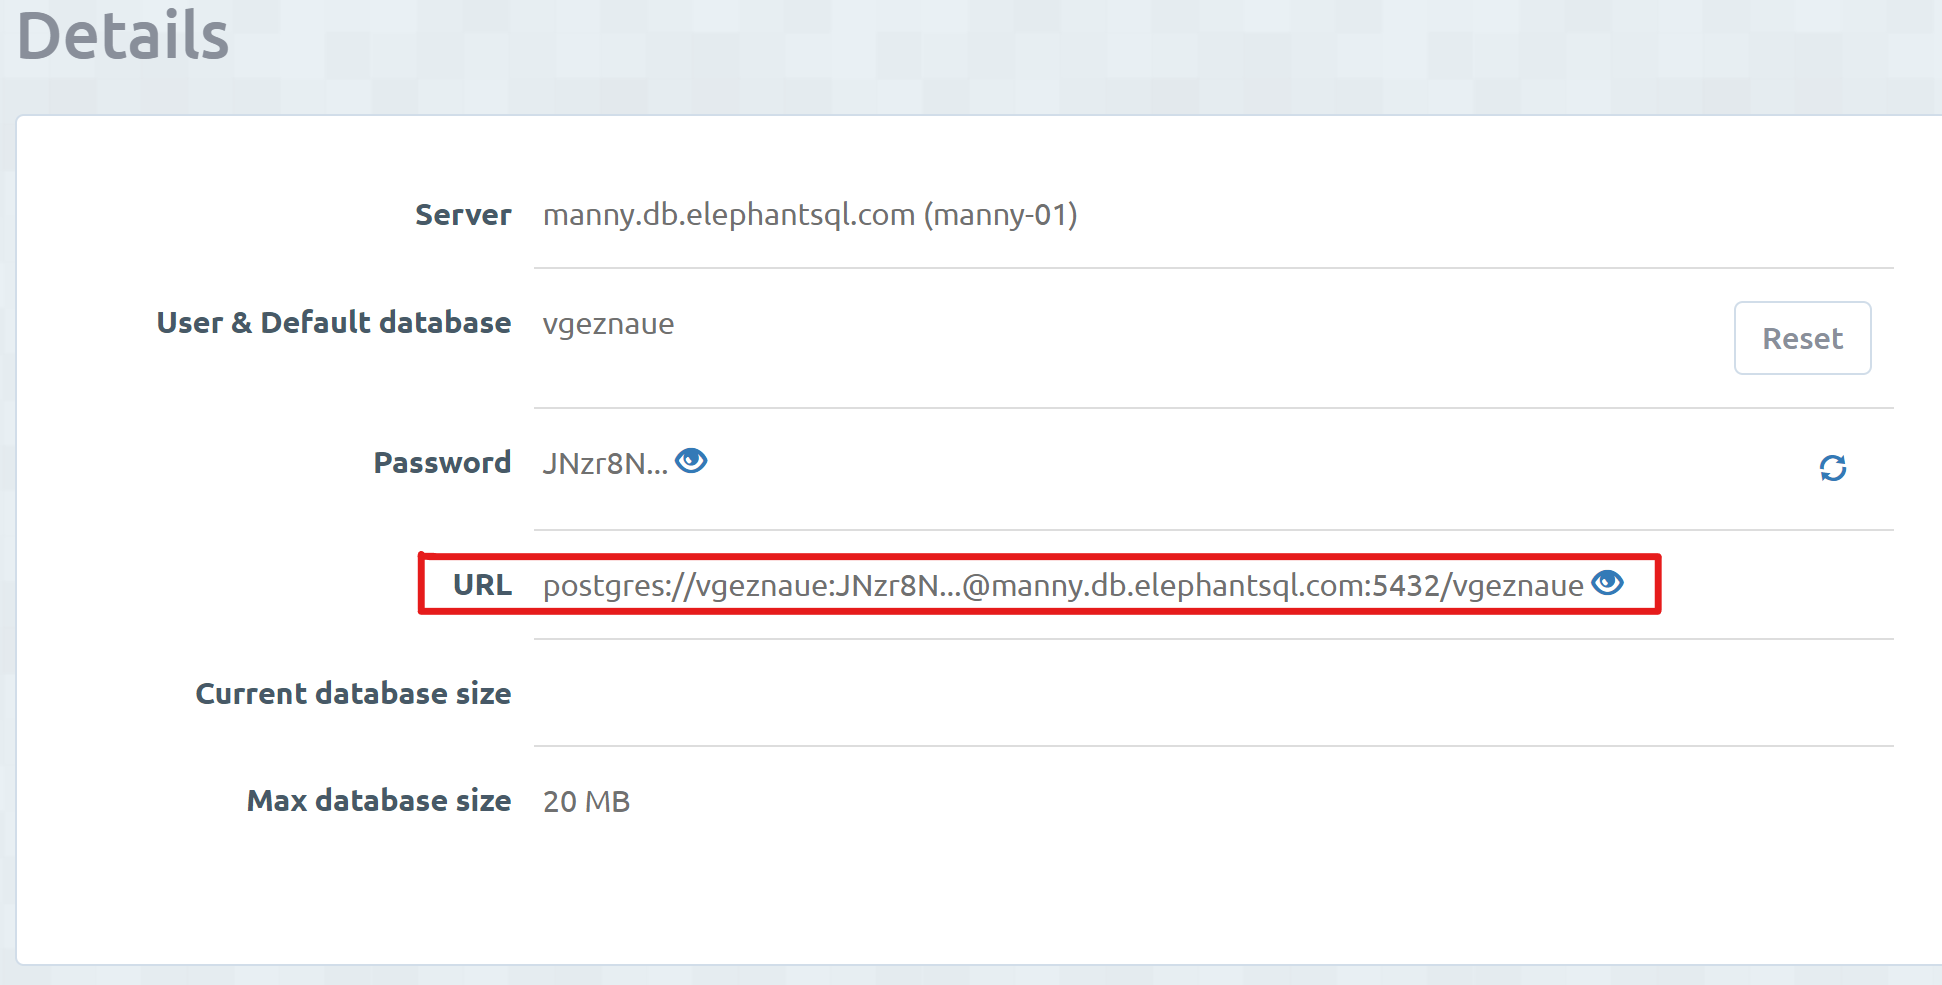
Your new instance will be created and listed in your dashboard. Click on it, and you'll see the configuration and access details.
You will need the URL to access the database using Python. Click on the little eye icon to see the whole thing. We'll make use of it later on!
If you want to use ElephantSQL instead of installing PostgreSQL locally, you can move on to the next chapter now. There we will learn how to interact with the database.
If you'd rather install PostgreSQL locally, please keep reading!
# Installing PostgreSQL
# On Windows
This step-by-step guide for installing PostgreSQL is good: https://www.postgresqltutorial.com/install-postgresql/ (opens new window).
However, I would not install pgAdmin 4.
pgAdmin 4 is a piece of software to manage your database. It allows you to look at data in the database, create tables, and so on.
I think it is a bit cumbersome, has bugs, and is generally difficult to use for new developers.
As such, I would untick the "pgAdmin 4" box on the "Select Components" screen of the installer, and instead install a different software: HeidiSQL (opens new window). More information on HeidiSQL below!
# On Mac
The process for installing PostgreSQL on Mac is very similar to that on Windows.
Download the appropriate PostgreSQL installer (I recommend the latest version), and go through the installer: https://www.enterprisedb.com/downloads/postgres-postgresql-downloads (opens new window).
Like on Windows, I would not install pgAdmin 4.
TIP
If you prefer to use Homebrew rather than a point-and-click installer, try this guide: https://www.robinwieruch.de/postgres-sql-macos-setup (opens new window).
# On Linux
Installing PostgreSQL on Linux varies depending on your distribution. DigitalOcean has written a great guide for installing PostgreSQL on Ubuntu 18.04: https://www.digitalocean.com/community/tutorials/how-to-install-and-use-postgresql-on-ubuntu-18-04 (opens new window). You only need to read and follow up to Step 5 in their guide.
Installing and using PostgreSQL on Linux requires a bit more hands-on work and usage of the terminal (as usual with Linux!).
# HeidiSQL as a database viewer
TIP: Do you need HeidiSQL?
HeidiSQL is a database viewer that allows you to connect to and interact with a PostgreSQL database.
I recommend you use it instead of pgAdmin 4.
You do not need HeidiSQL if you're using ElephantSQL, as they provide a web interface to the database. However, you can use it if you want.
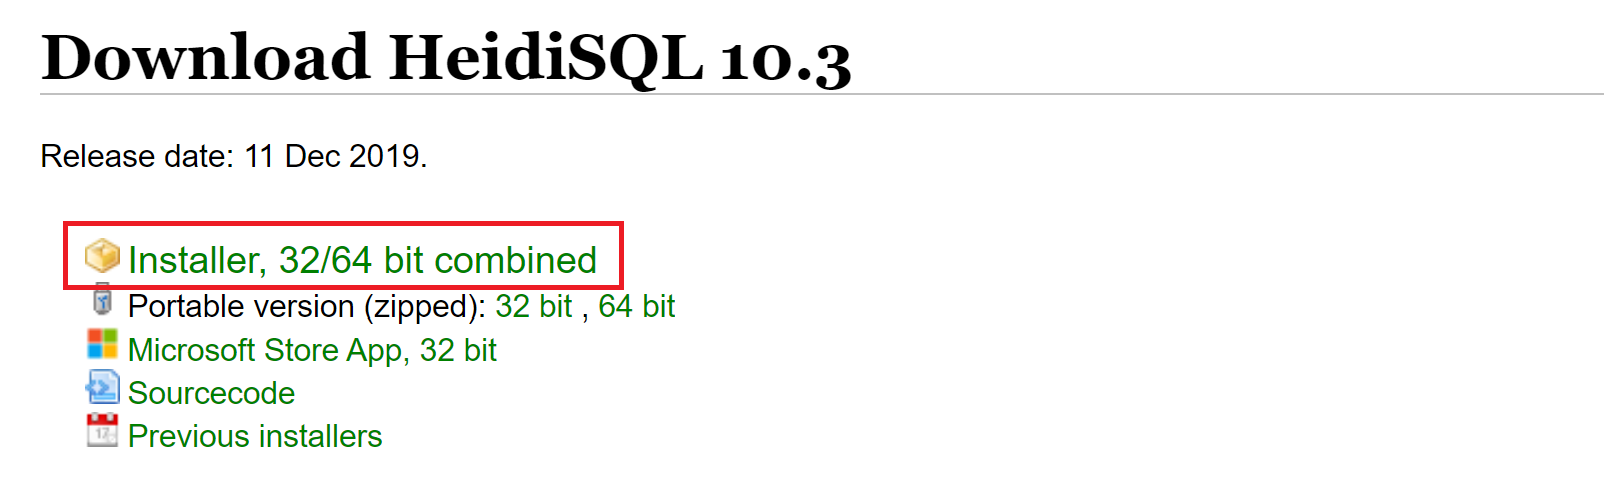
You can get HeidiSQL here: https://www.heidisql.com/download.php (opens new window). When it's downloaded, just go through the installer using the default options.
Something great about HeidiSQL is that you can use it to easily manage your SQLite database as well, if you want!
When HeidiSQL is installed, launch it and you'll be greeted with a screen like this one:
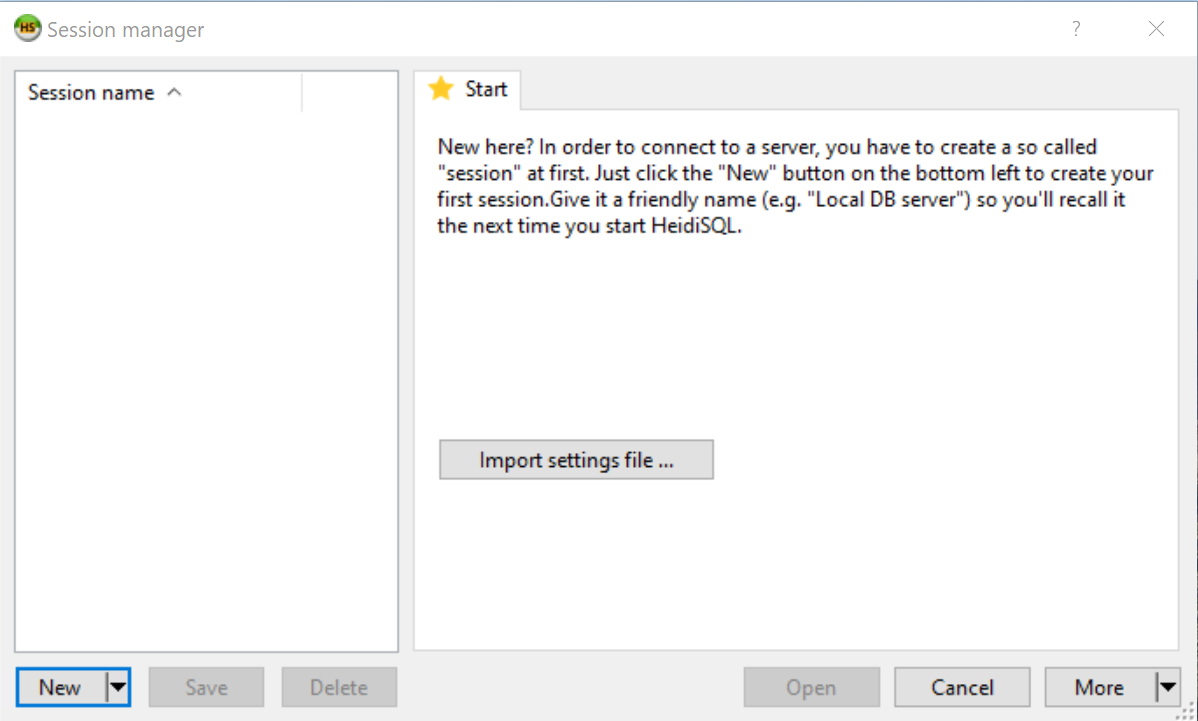
Then, you'll need to create a new Session. That's what HeidiSQL calls a connection to a database.
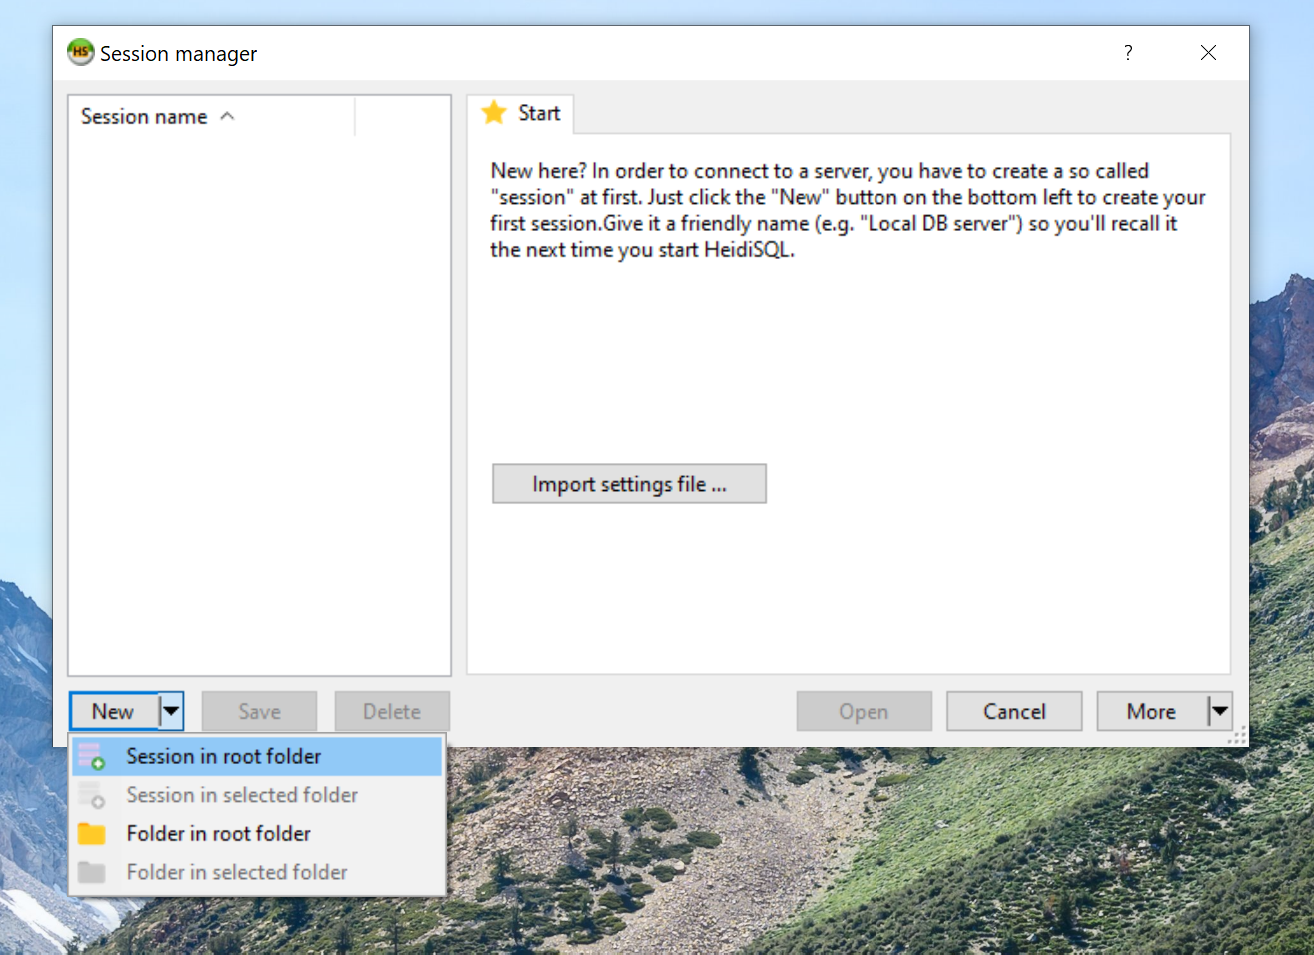
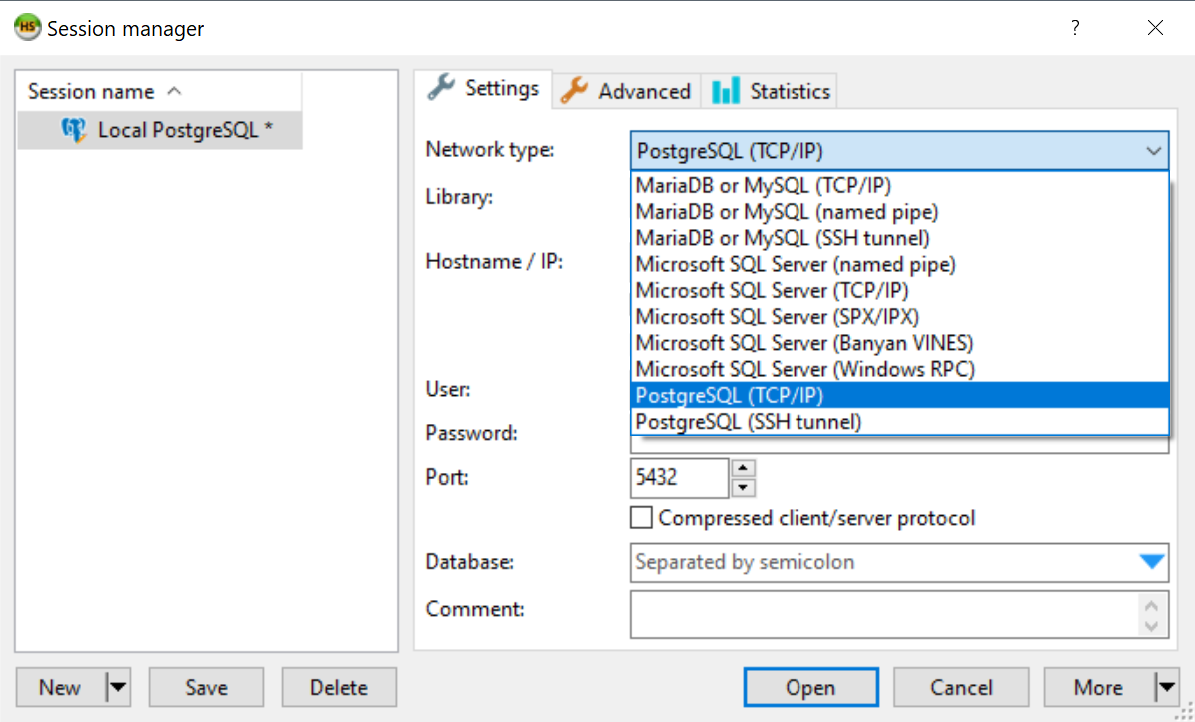
Call it what you'd like (I've called it "Local PostgreSQL"). Then, choose "PostgreSQL (TCP/IP)" from the "Network type" dropdown.
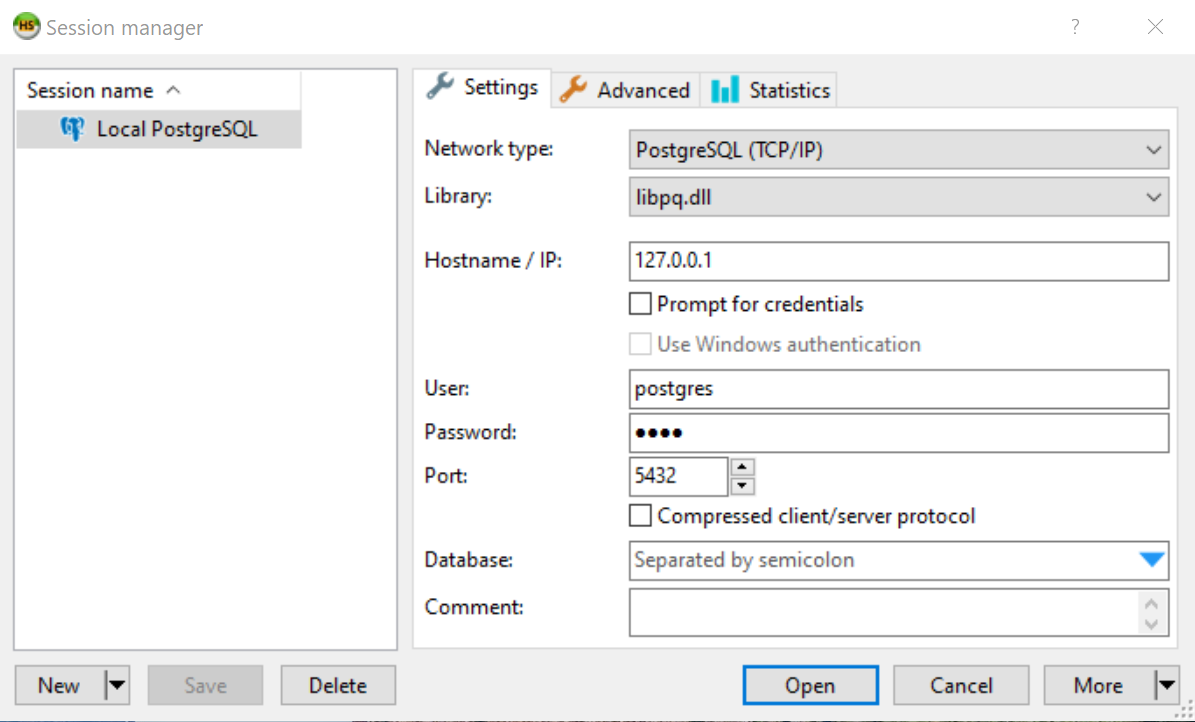
Then you need to select "libpq.dll" in the the "Library" dropdown.
WARNING
At this point, I've had to save the session and restart HeidiSQL, as otherwise "libpq.dll" was not showing up. If you see this bug too, just save and restart and it should appear.
Otherwise, if you do see "libpq.dll" in there without having to restart, select it.
Under the "Password" field, enter your PostgreSQL postgres user password that you selected while installing PostgreSQL.
It should all look like this at this point:
TIP
You can connect to ElephantSQL too using HeidiSQL, you'll just need to put in the correct information, that's the server URL, username, password, and default database.
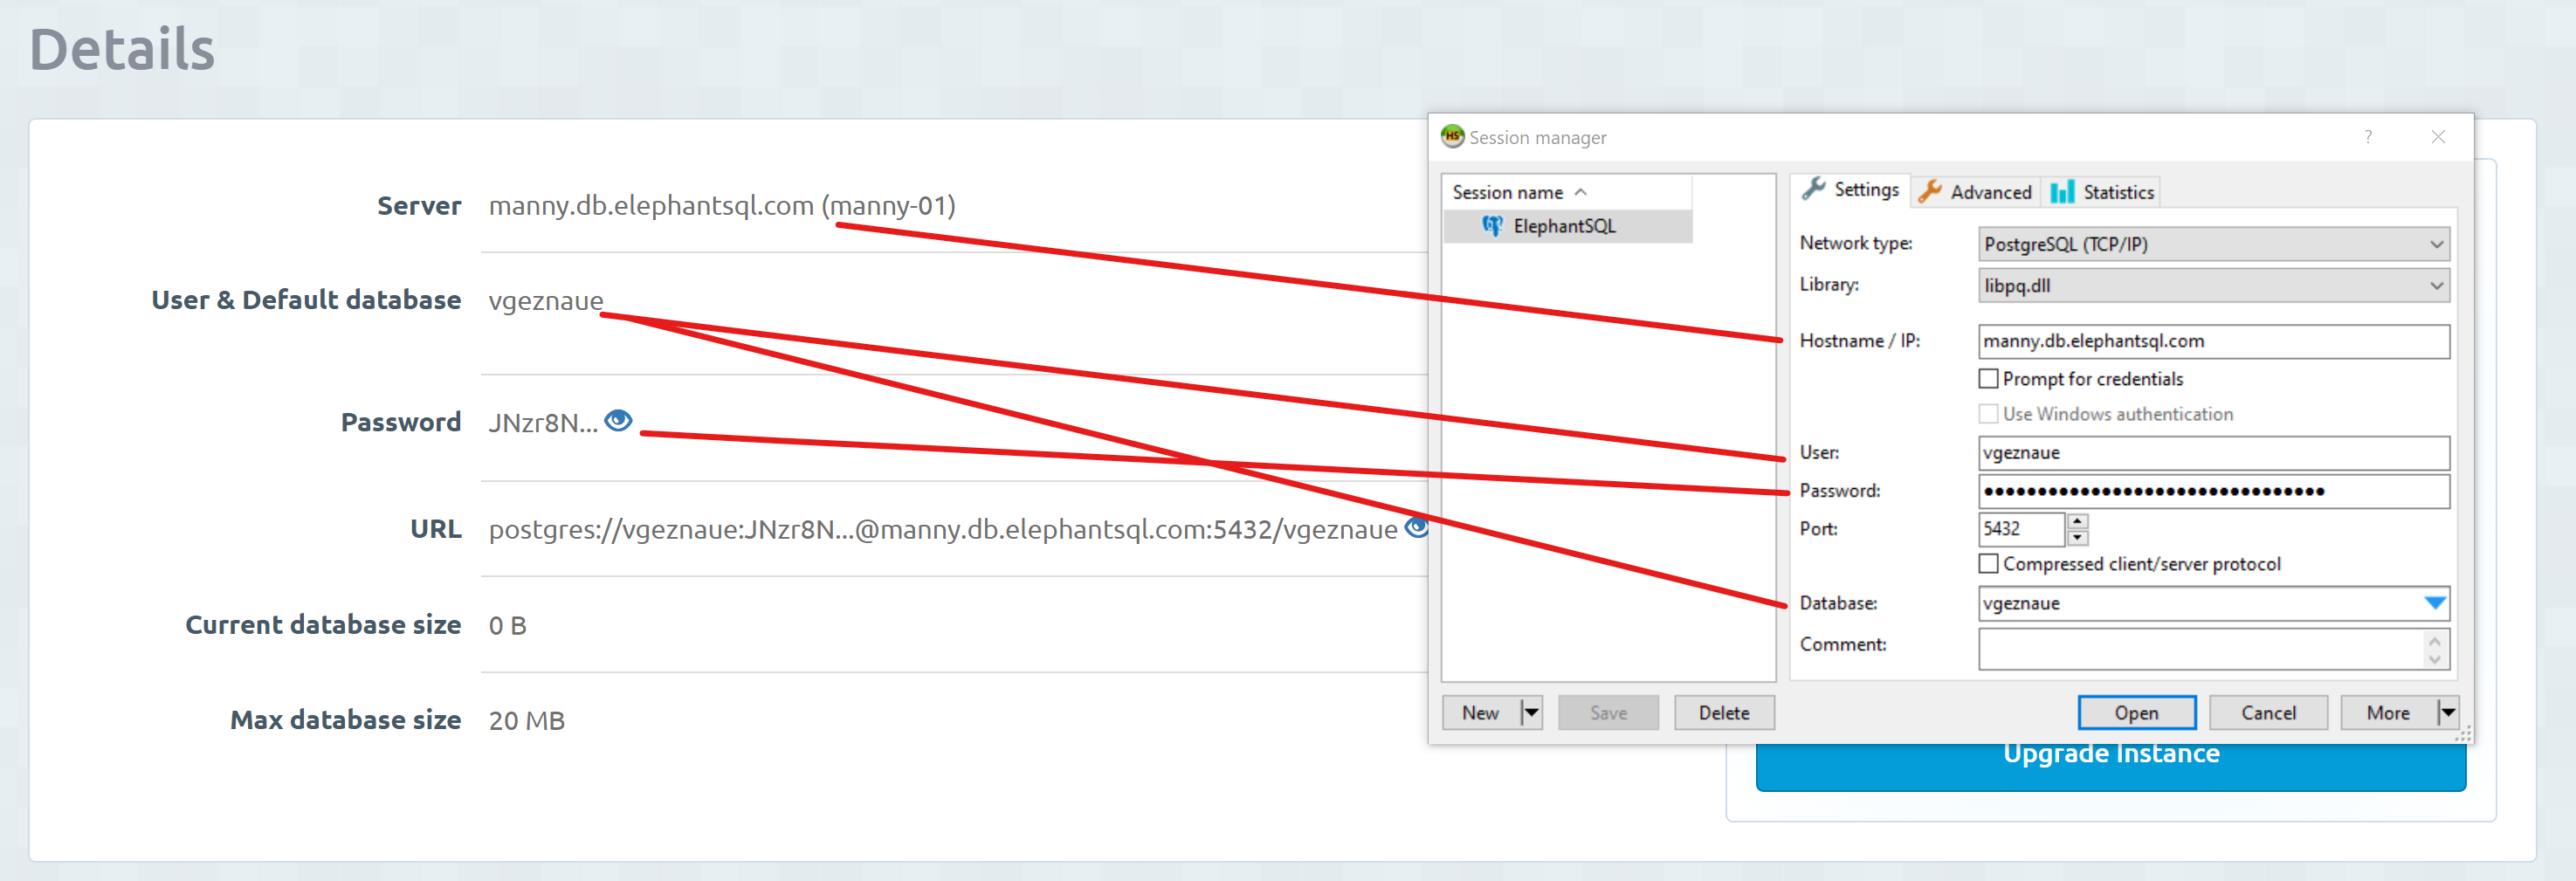
If the image is too small, open it in a new tab to see it in full width!
Now you should be able to press "Open" and start the connection to PostgreSQL!
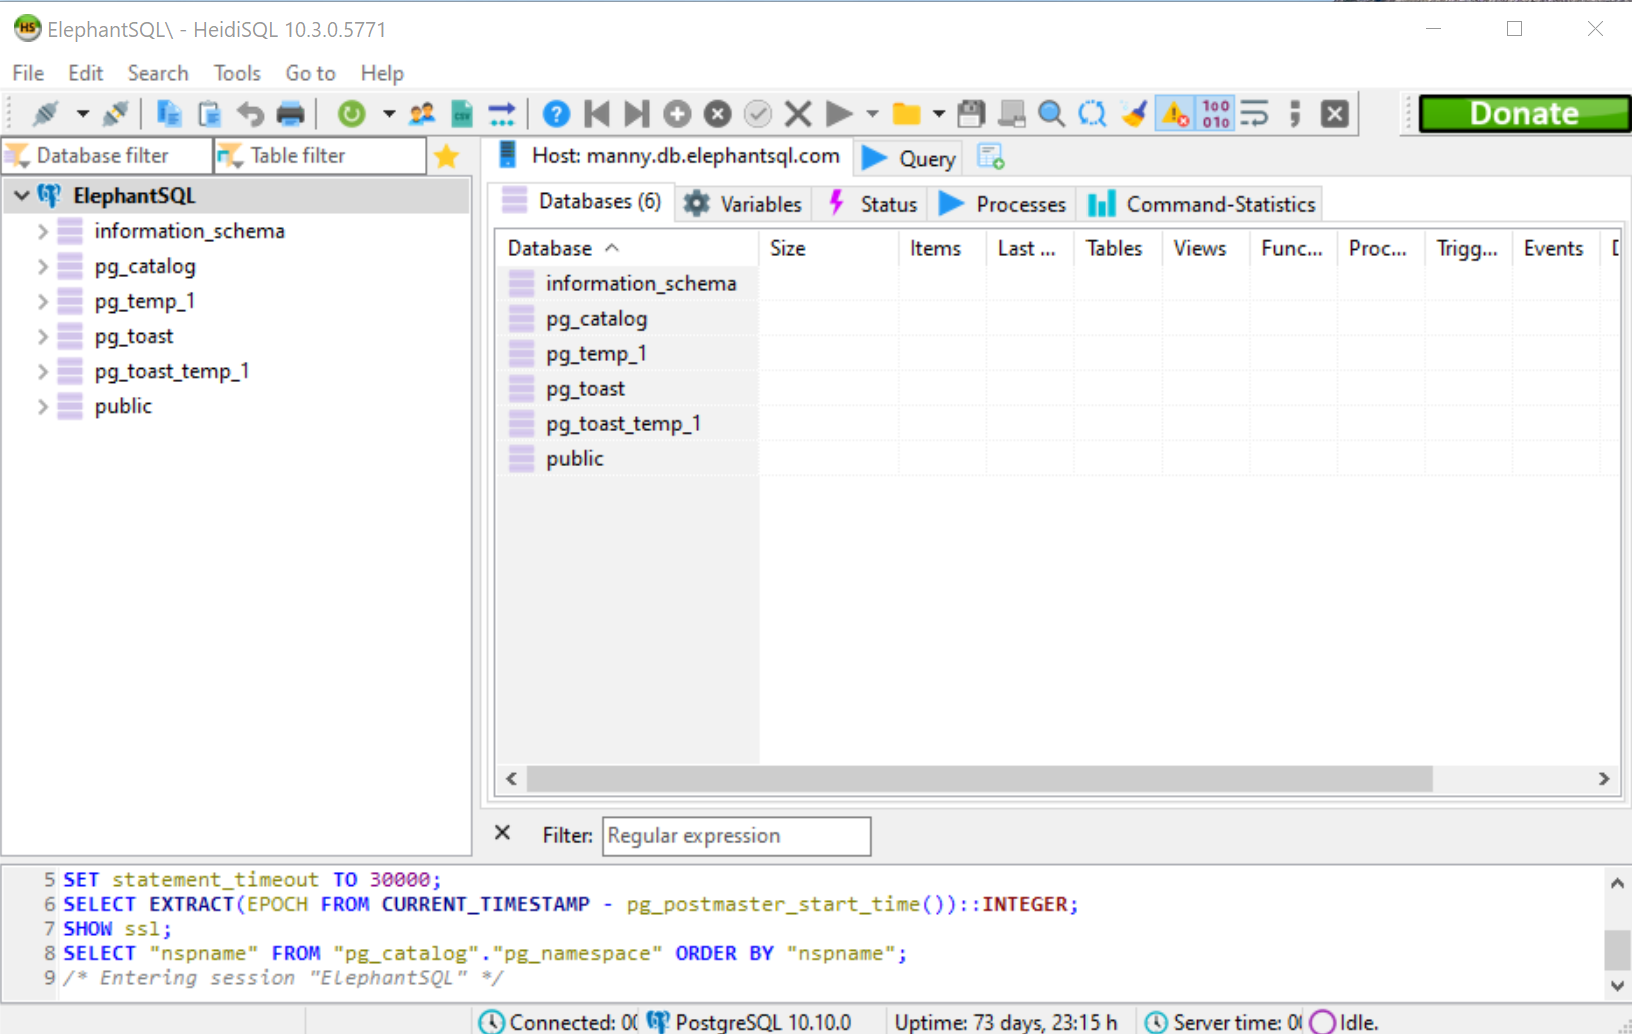
Now you're ready to move on to the next chapter where we'll learn more about how to interact with PostgreSQL.