# PostgreSQL Python Libraries: psycopg2 and psycopg2-binary
Just as we used the sqlite3 library in Python to talk to a SQLite database, we'll use psycopg2 to talk to a PostgreSQL database.
The sqlite3 library is simpler than psycopg2; just as SQLite is simpler than PostgreSQL.
The main things remain the same: we create connections, we create cursor, we execute queries. However as we'll learn throughout the course, there's a lot more we can do with psycopg2.
But when you're getting started with psycopg2 there is an initial hurdle. There's two libraries: psycopg2 and psycopg2-binary.
So what's the difference?
# psycopg2 vs psycopg2-binary
Because we're only just starting (and I'm assuming most students are fairly new to software development and programming), you should use psycopg2-binary only[1]. Don't install psycopg2 at all, and certainly don't install both packages.
That's because when you install psycopg2-binary, it will just work.
To install psycopg2 there are a bunch of prerequisites[2] that you probably won't have already installed. In addition, you'll have to find some files and programs in your computer that can be quite difficult to find!
As you learn more and more and because a proficient (maybe professional) software developer, you will want to use psycopg2 instead of psycopg2-binary. That's because when you're doing some really advanced stuff, there can be some problems with psycopg2-binary[3][4].
Please don't use psycopg2 at the moment unless you're really confident you know how to install it.
Alright, now that that's out of the way...
# Installing the package
Since now we're using PostgreSQL, and we're going to start building larger and more complicated projects, we'll begin using PyCharm[5] and virtual environments[6].
Start off by creating a new PyCharm project that uses Pipenv.
Make sure to select the correct Python version as the base interpreter. I'll be using Python 3.7, because there's a bug with Pipenv + psycopg2-binary on Windows 10[7]. If you're using a different operating system, you can use Python 3.8 safely!
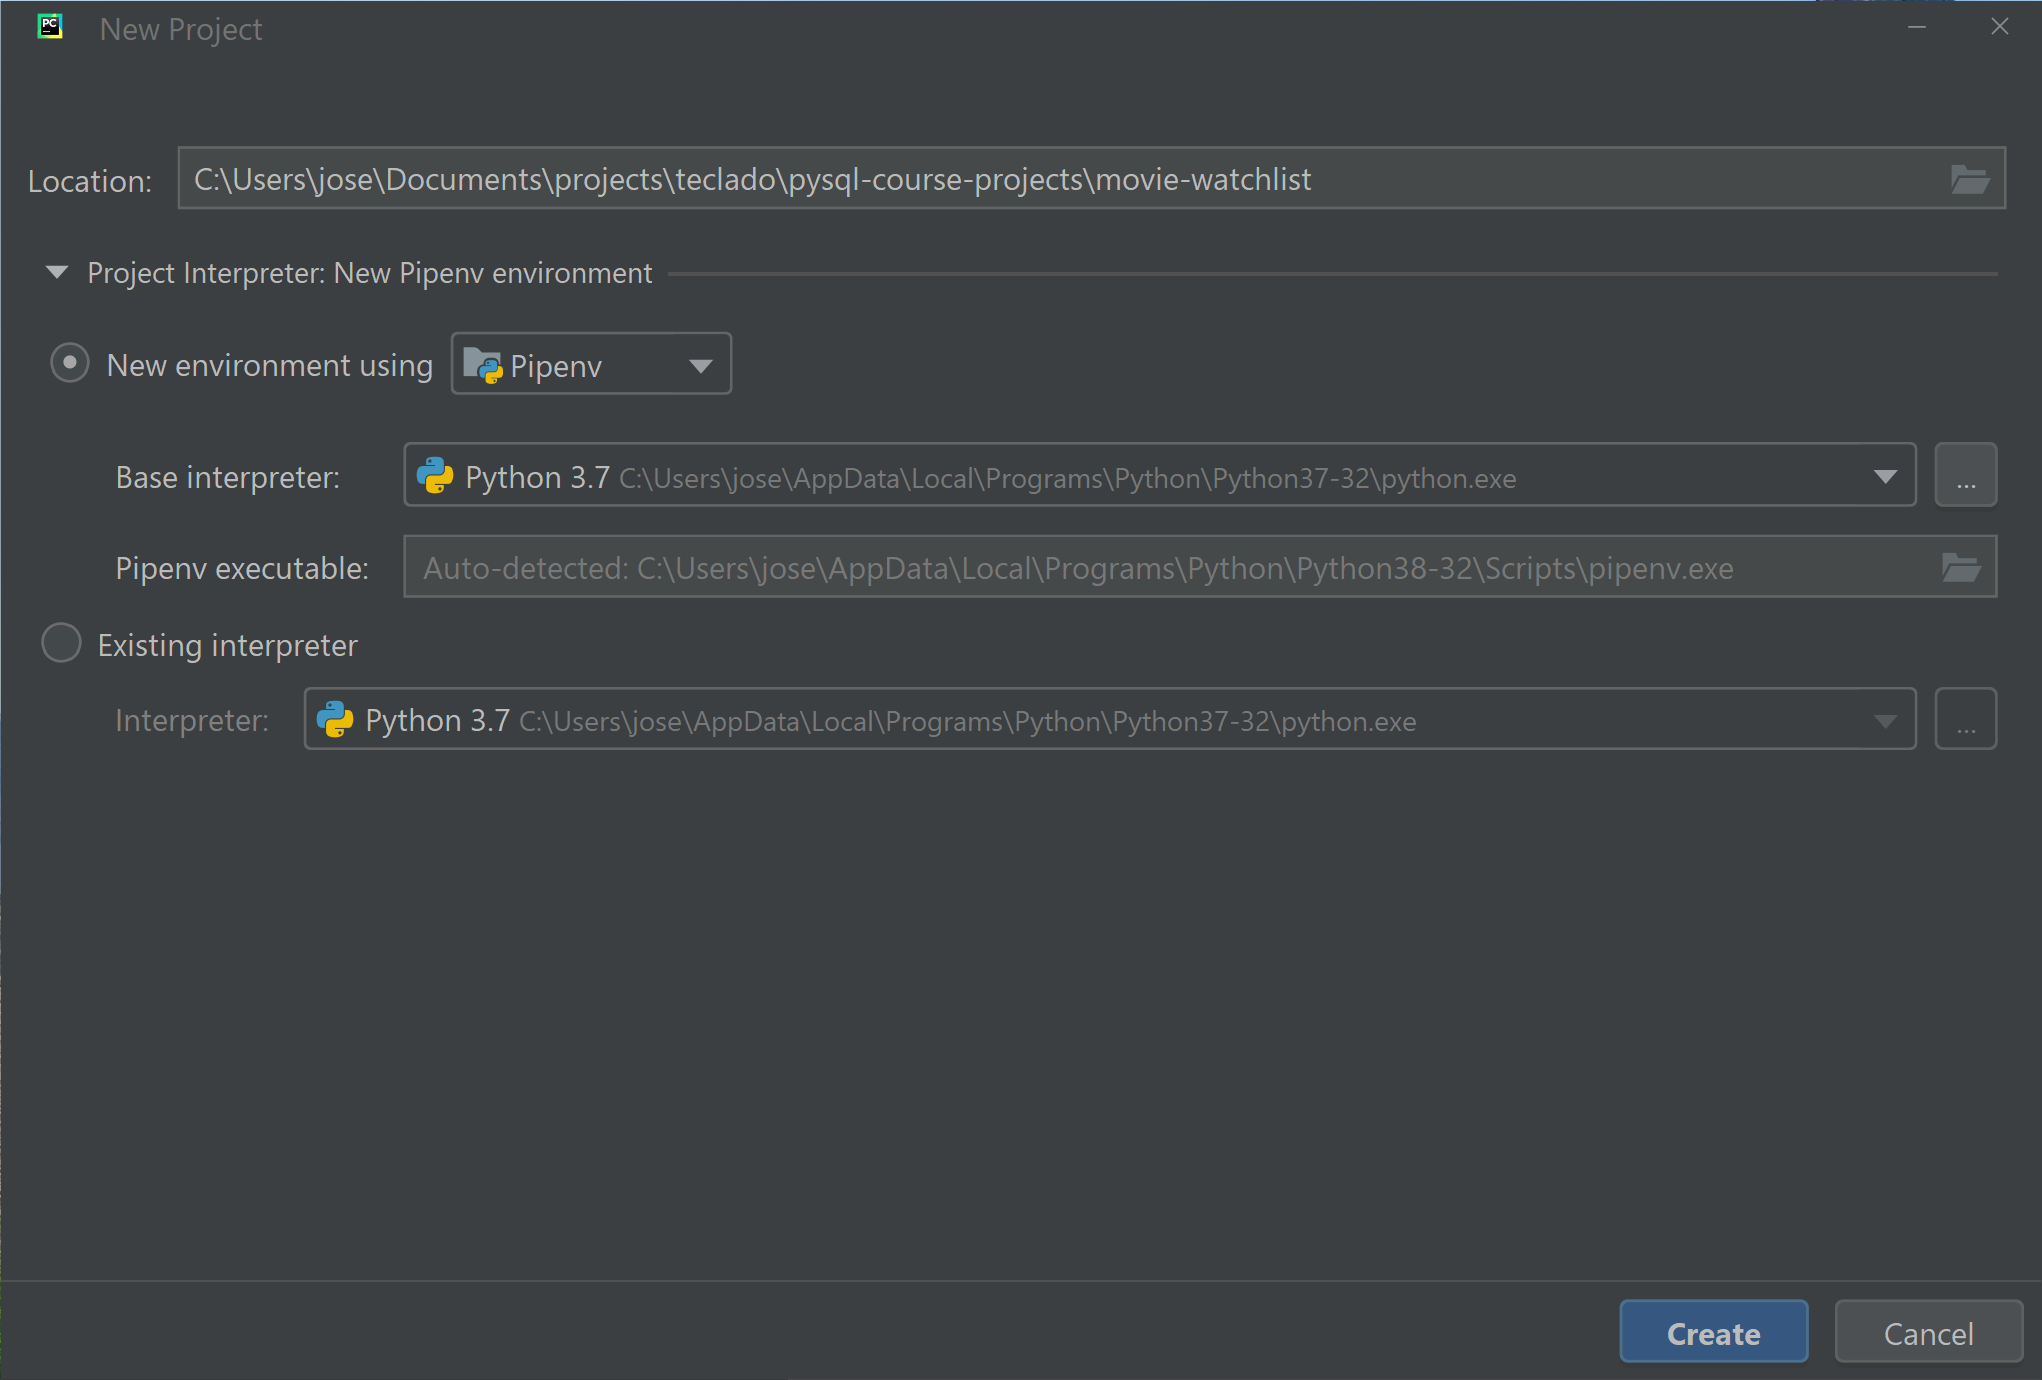
When that's created, you'll have a new virtual environment based off the "Base interpreter" that you selected.
Now we can go to the PyCharm Preferences (Settings on Windows) and install psycopg2-binary. If pip is not at the latest version, you should update pip first, before installing psycopg2-binary.
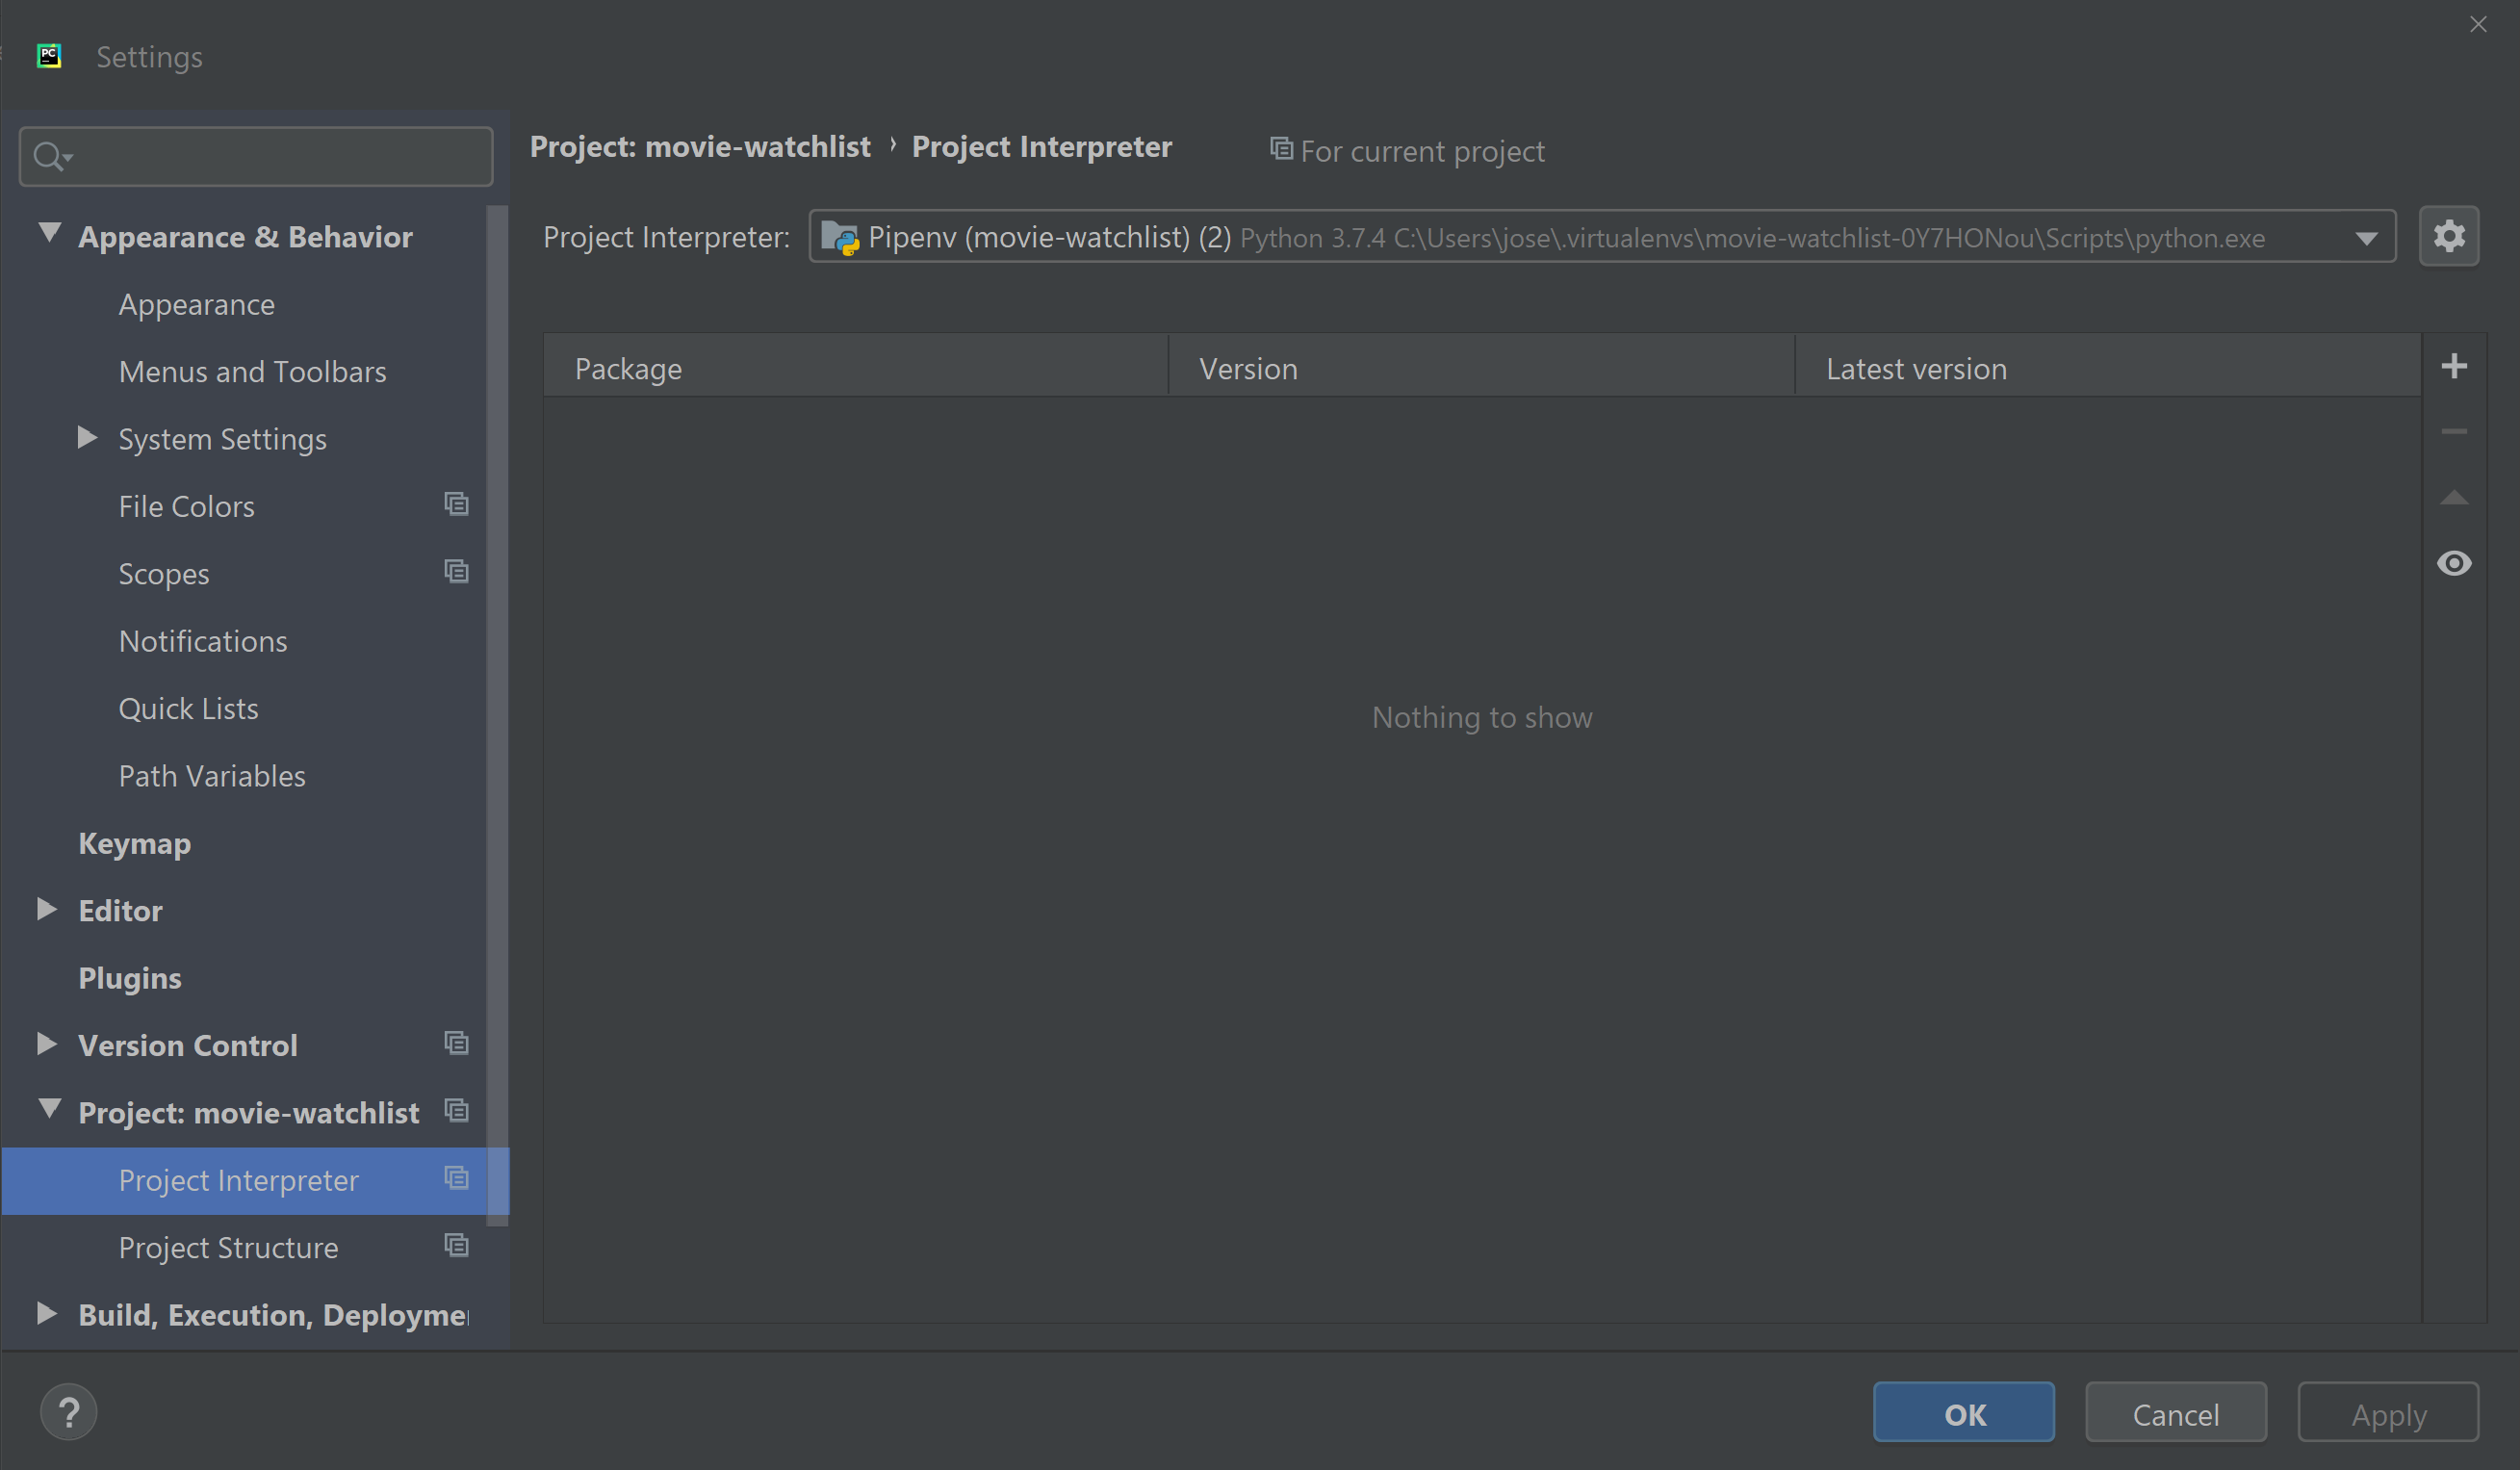
Click the "plus" icon at the top right and find psycopg2-binary. Then install it.
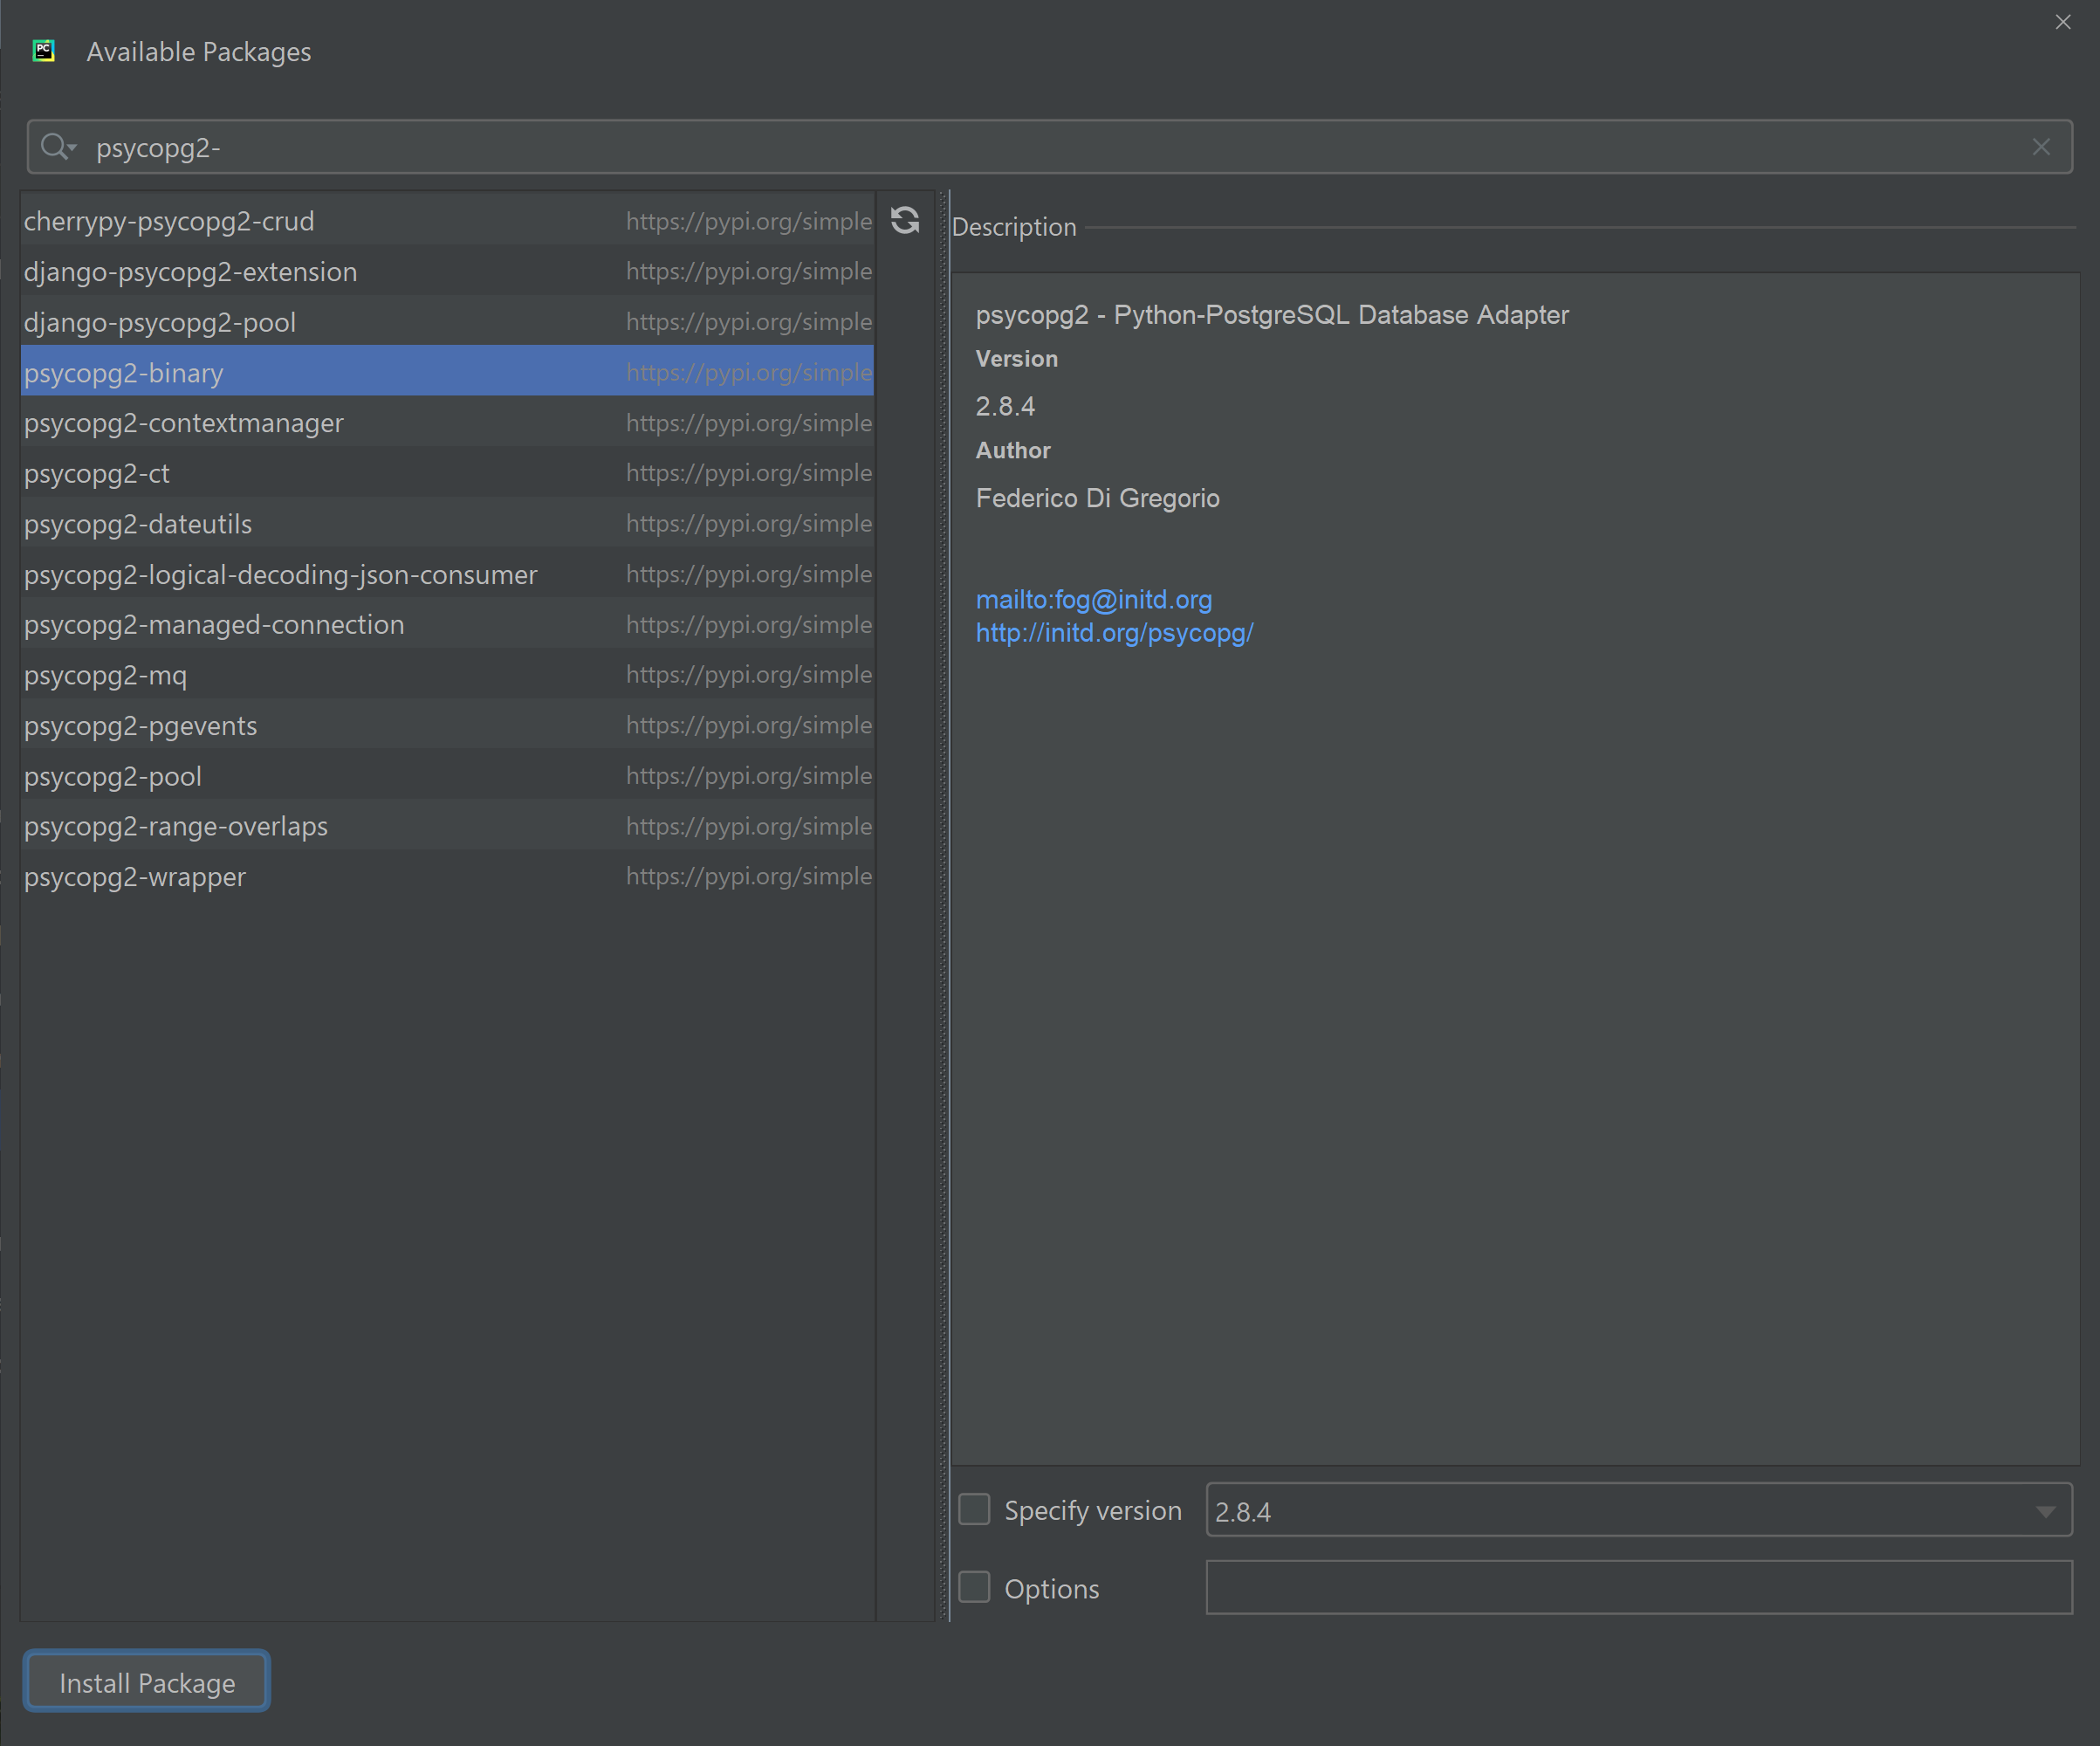
That's it! Now psycopg2-binary is installed and we can use it in our project.
# Testing psycopg2-binary in the Python project
Throughout the next few chapters we'll be migrating our last project (the Movie Watchlist) to use psycopg2. However, before we get started with that we want to make sure that it's all working well.
Create a new file called app.py and write the following code in it:
import psycopg2

url = "YOUR ELEPHANTSQL URL"
connection = psycopg2.connect(url)
cursor = connection.cursor()

cursor.execute("SELECT version();")
version = cursor.fetchone()
print(version)

connection.close()
TIP
If you're not using ElephantSQL because you've decided to install PostgreSQL locally instead, this will be your URL: postgres://postgres:1234@localhost:5432/db_name.
Make sure to type the right password instead of 1234, and the right database name instead of db_name.
# Why are we importing psycopg2?
If you're confused because we've installed a package called psycopg2-binary but now we're importing psycopg2 in our code: don't worry!
psycopg2-binary and psycopg2 both give us the same code that we interact with. The difference between the two is in how that code is installed in our computer.
# Wrapping Up
Alright, now that we've created our project and tested that psycopg2 is working, we're ready to start migrating our Movie Watchlist project.
To start, I would:
- Delete the
app.pyfile that we've created in the project to testpsycopg2; and - Copy all of the Movie Watchlist code files into the new project so that we can start the migration.
Then, move on to the next chapter and we'll begin coding!
Enjoyed this article?
You'll love the complete video course!
- Complete video lessons for each topic
- Get the most out of your learning
- Master Advanced PostgreSQL
- Get one-on-one help from a real person
Binary install from PyPI (Official Documentation) (opens new window) ↩︎
Psycopg2 build prerequisites (Official Documentation) (opens new window) ↩︎
Easy set up of a new project using PyCharm (The Teclado Blog) (opens new window) ↩︎
pipenv cannot install psycopg2-binary, but pip can (py 3.8) (opens new window) ↩︎