# How to run and access PostgreSQL
Just like SQLite, you'll interact with your PostgreSQL database by using queries.
# ElephantSQL
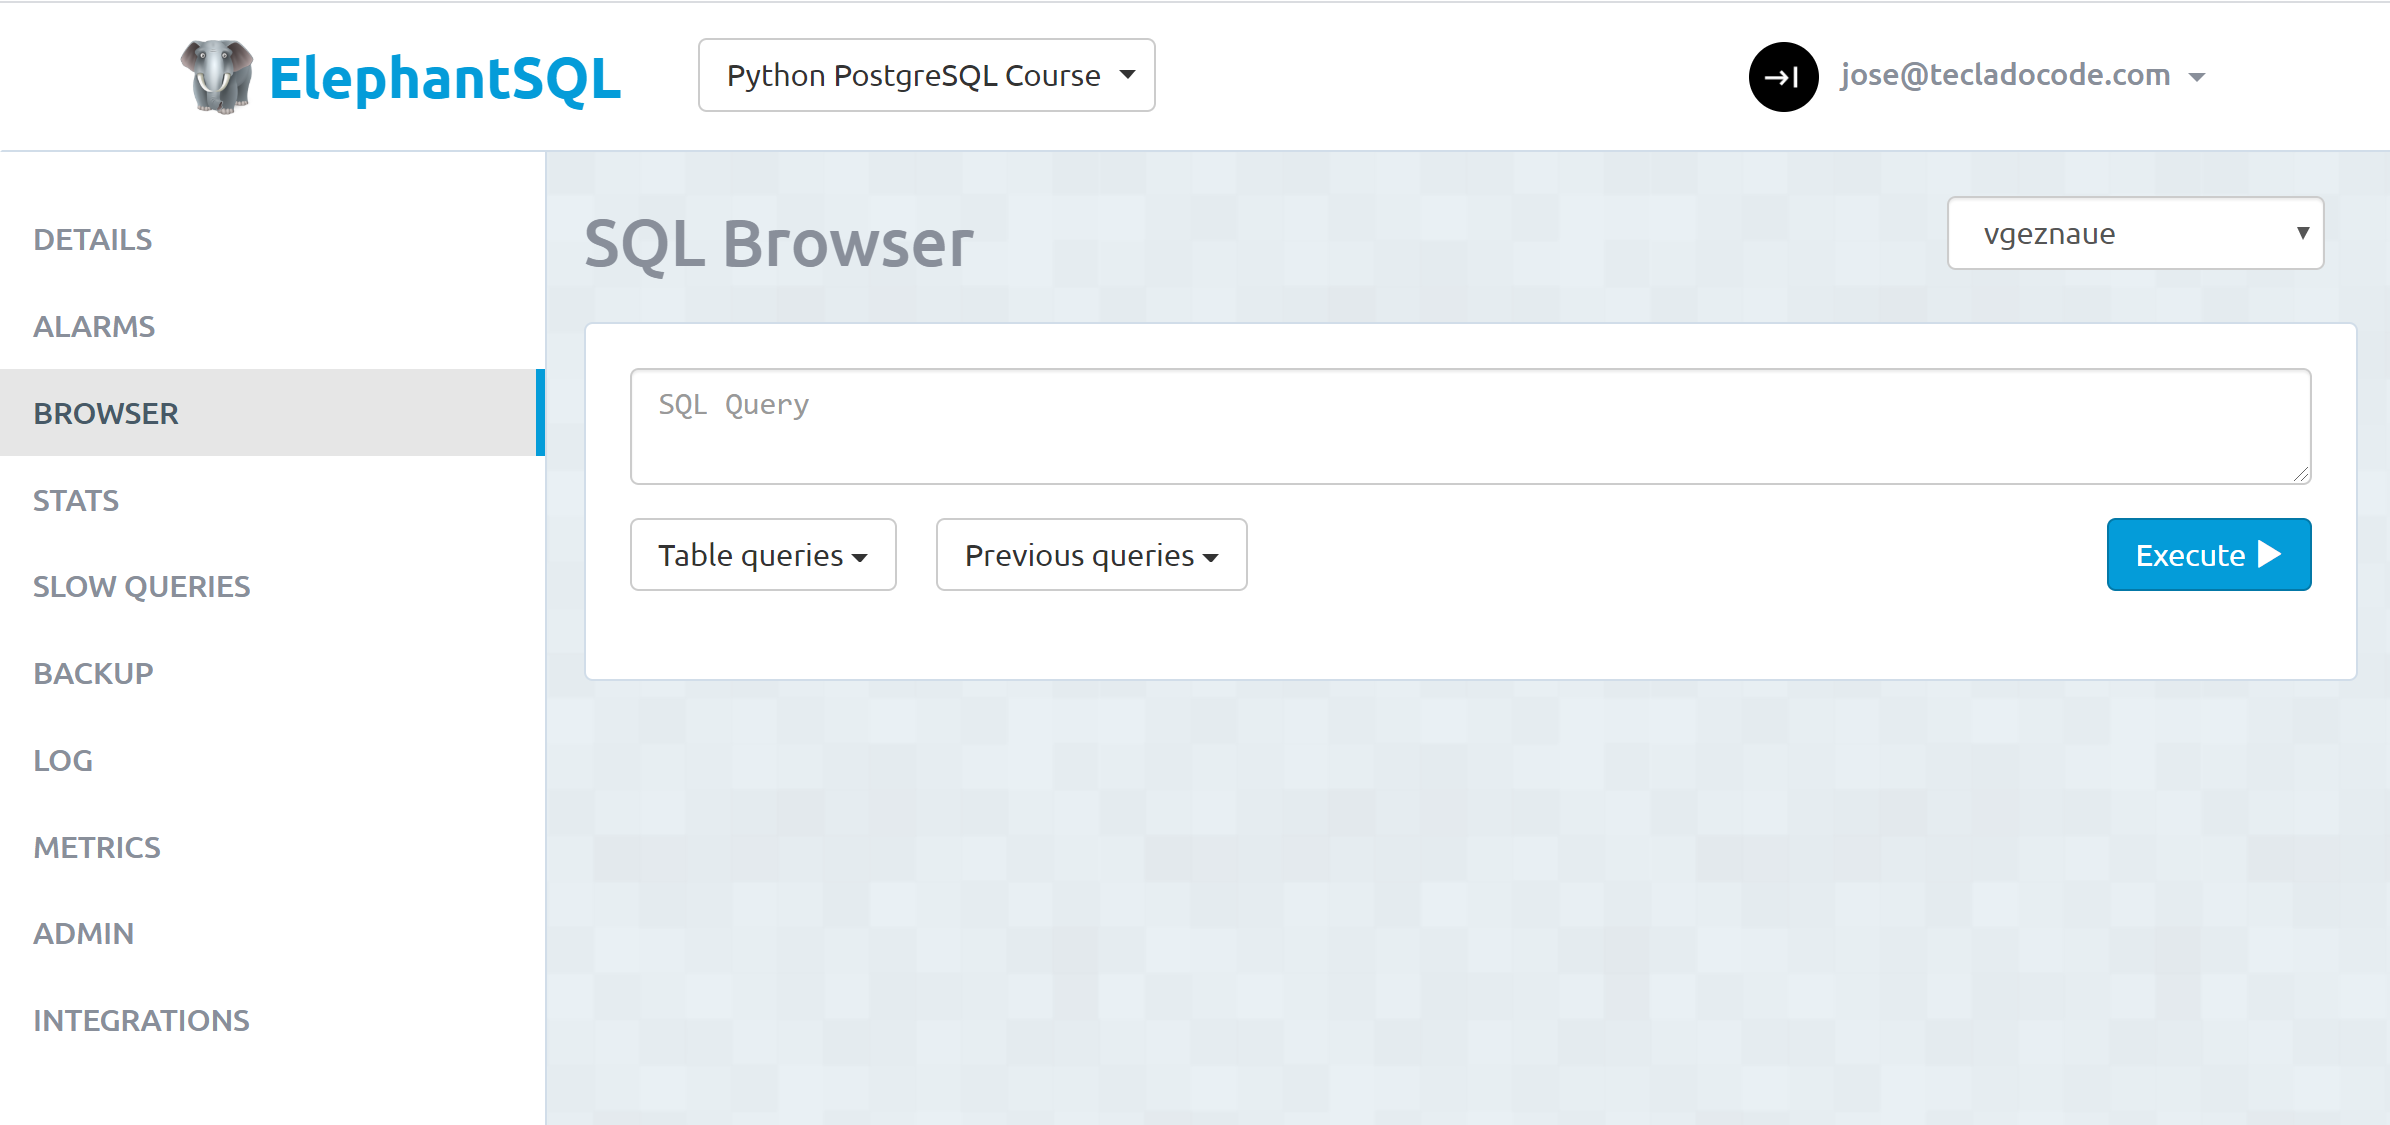
In ElephantSQL, select your database instance and then navigate to the "Browser" section. Here you'll be able to run queries:
# HeidiSQL
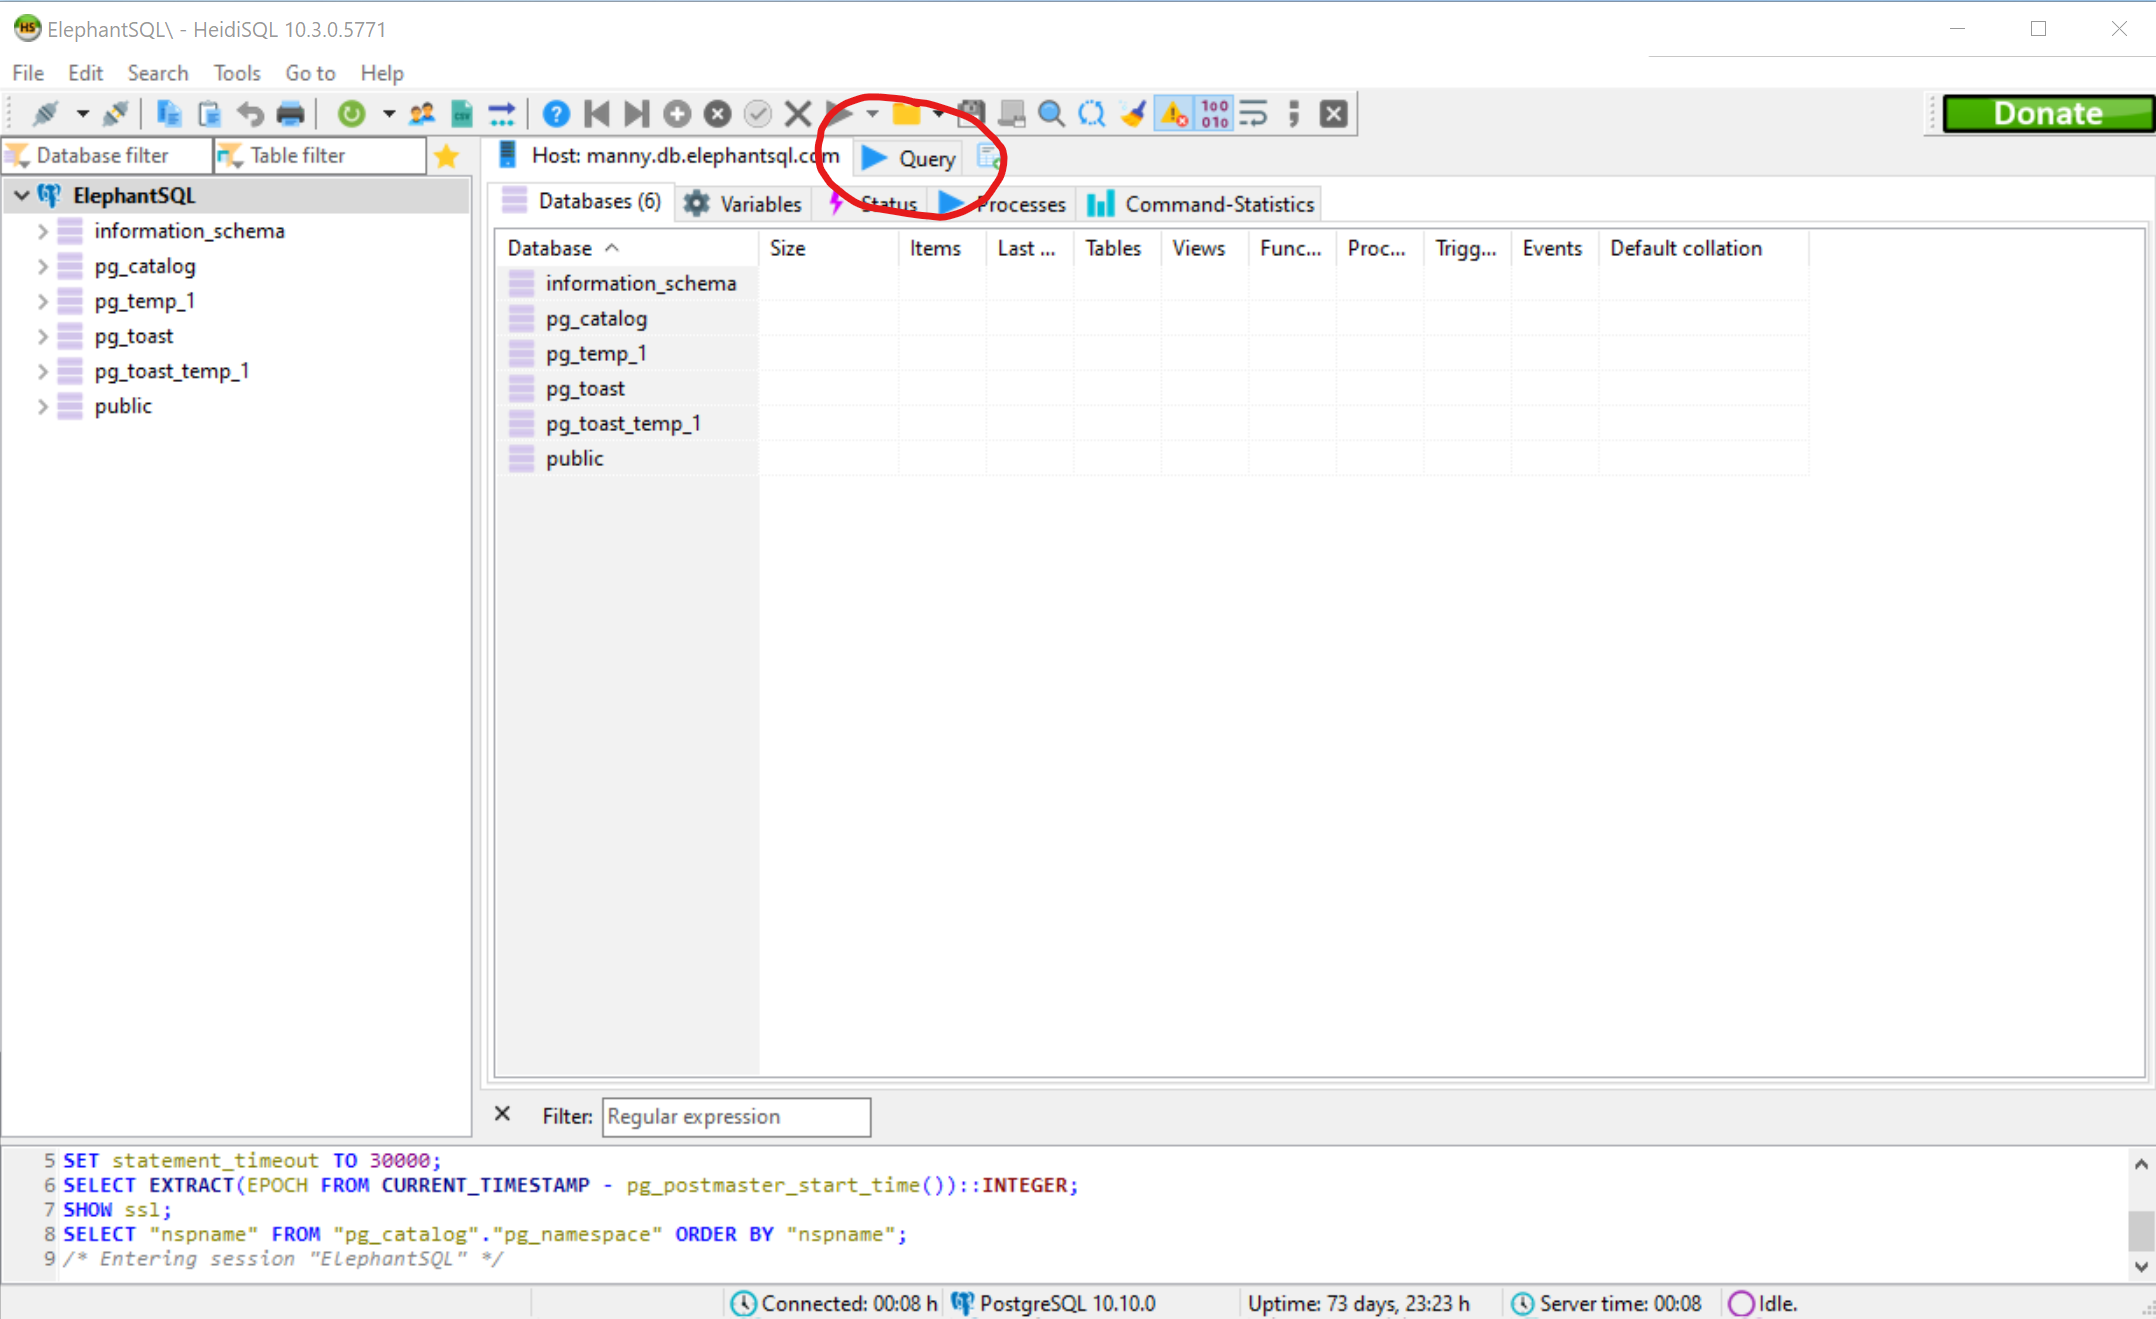
With HeidiSQL you'll need to open a Query tab in order to execute queries:
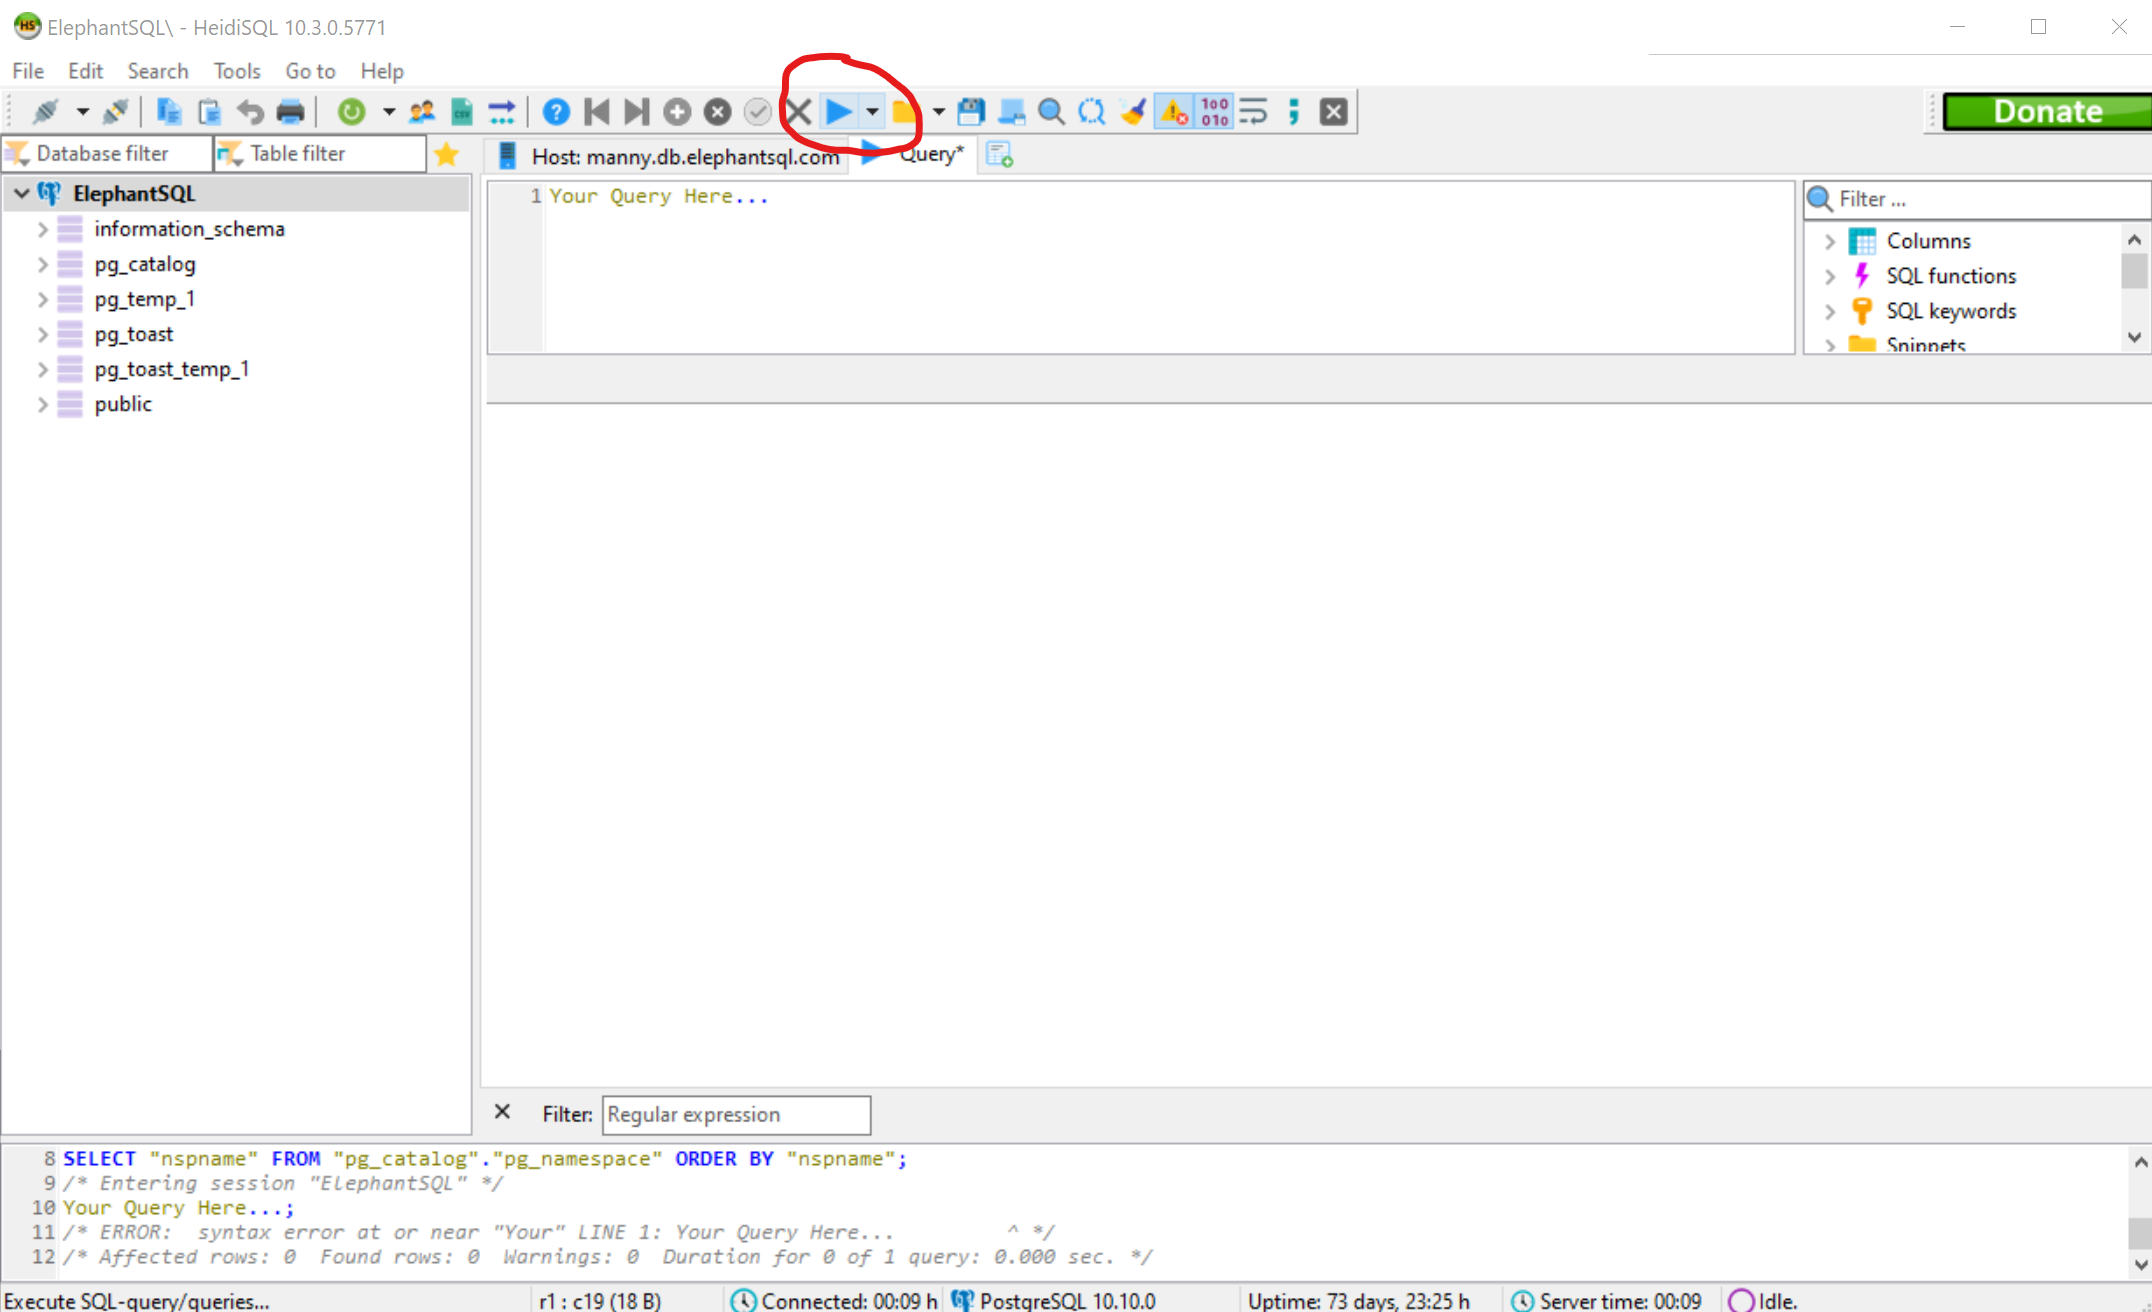
Then, type your query in the box and press the "Run Query" button (or the F5 shortcut):
Using HeidiSQL you can also easily view data in your tables. To do that, you first need a table and some data--so I'll give you an example just to show you how to do it.
I'll execute these queries in my database:
CREATE TABLE users (id INTEGER PRIMARY KEY, name TEXT);
INSERT INTO users VALUES (1, 'Bob Smith');
When you do this, a new table with one row of data will be created.
Because PostgreSQL is structured slightly differently to SQLite, tables are created inside Schemas. A Schema is just another organizational layer, so that you can group tables how you see fit.
By default, since we didn't specify a Schema in our query, it gets created inside the public Schema. This is a good place, and the one we'll use throughout the course.
TIP
If you wanted to provide the Schema yourself when creating the table or inserting users, just refer to the table as public.users instead of users.
Note that if you wanted to use a different Schema other than public, you would have to create it first. We don't cover that in this course.
If you now go and click on the public Schema on the left, you'll get a new tab open with a lot of stuff in it:
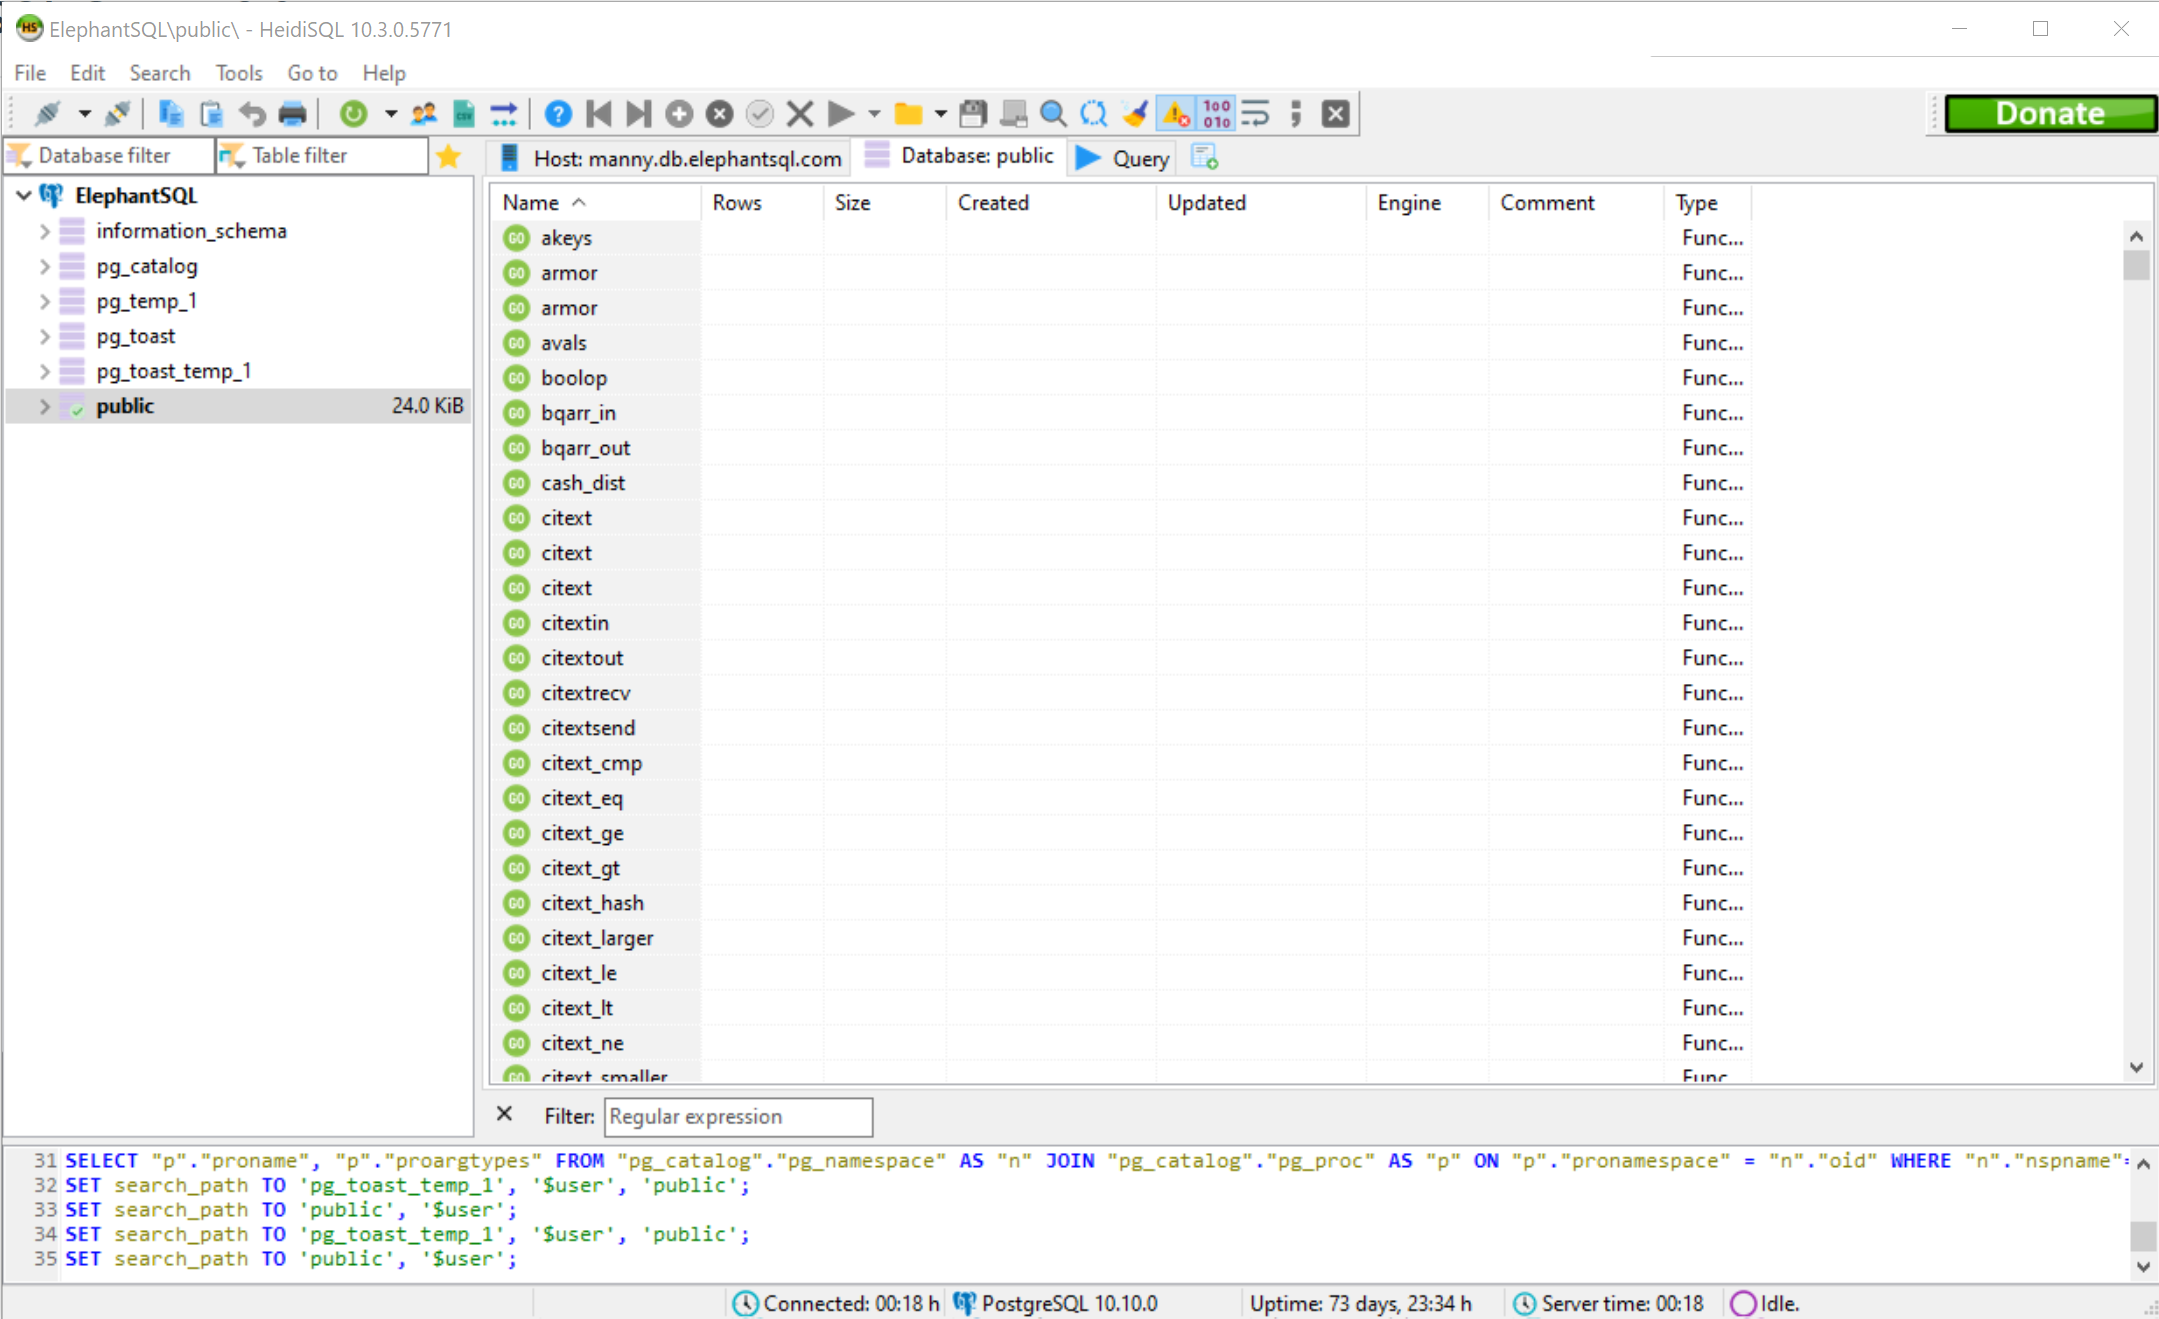
It will be tricky to find stuff here!
So instead I recommend you type users in the "Table filter" field at the top left, and then open the public Schema using the arrow:
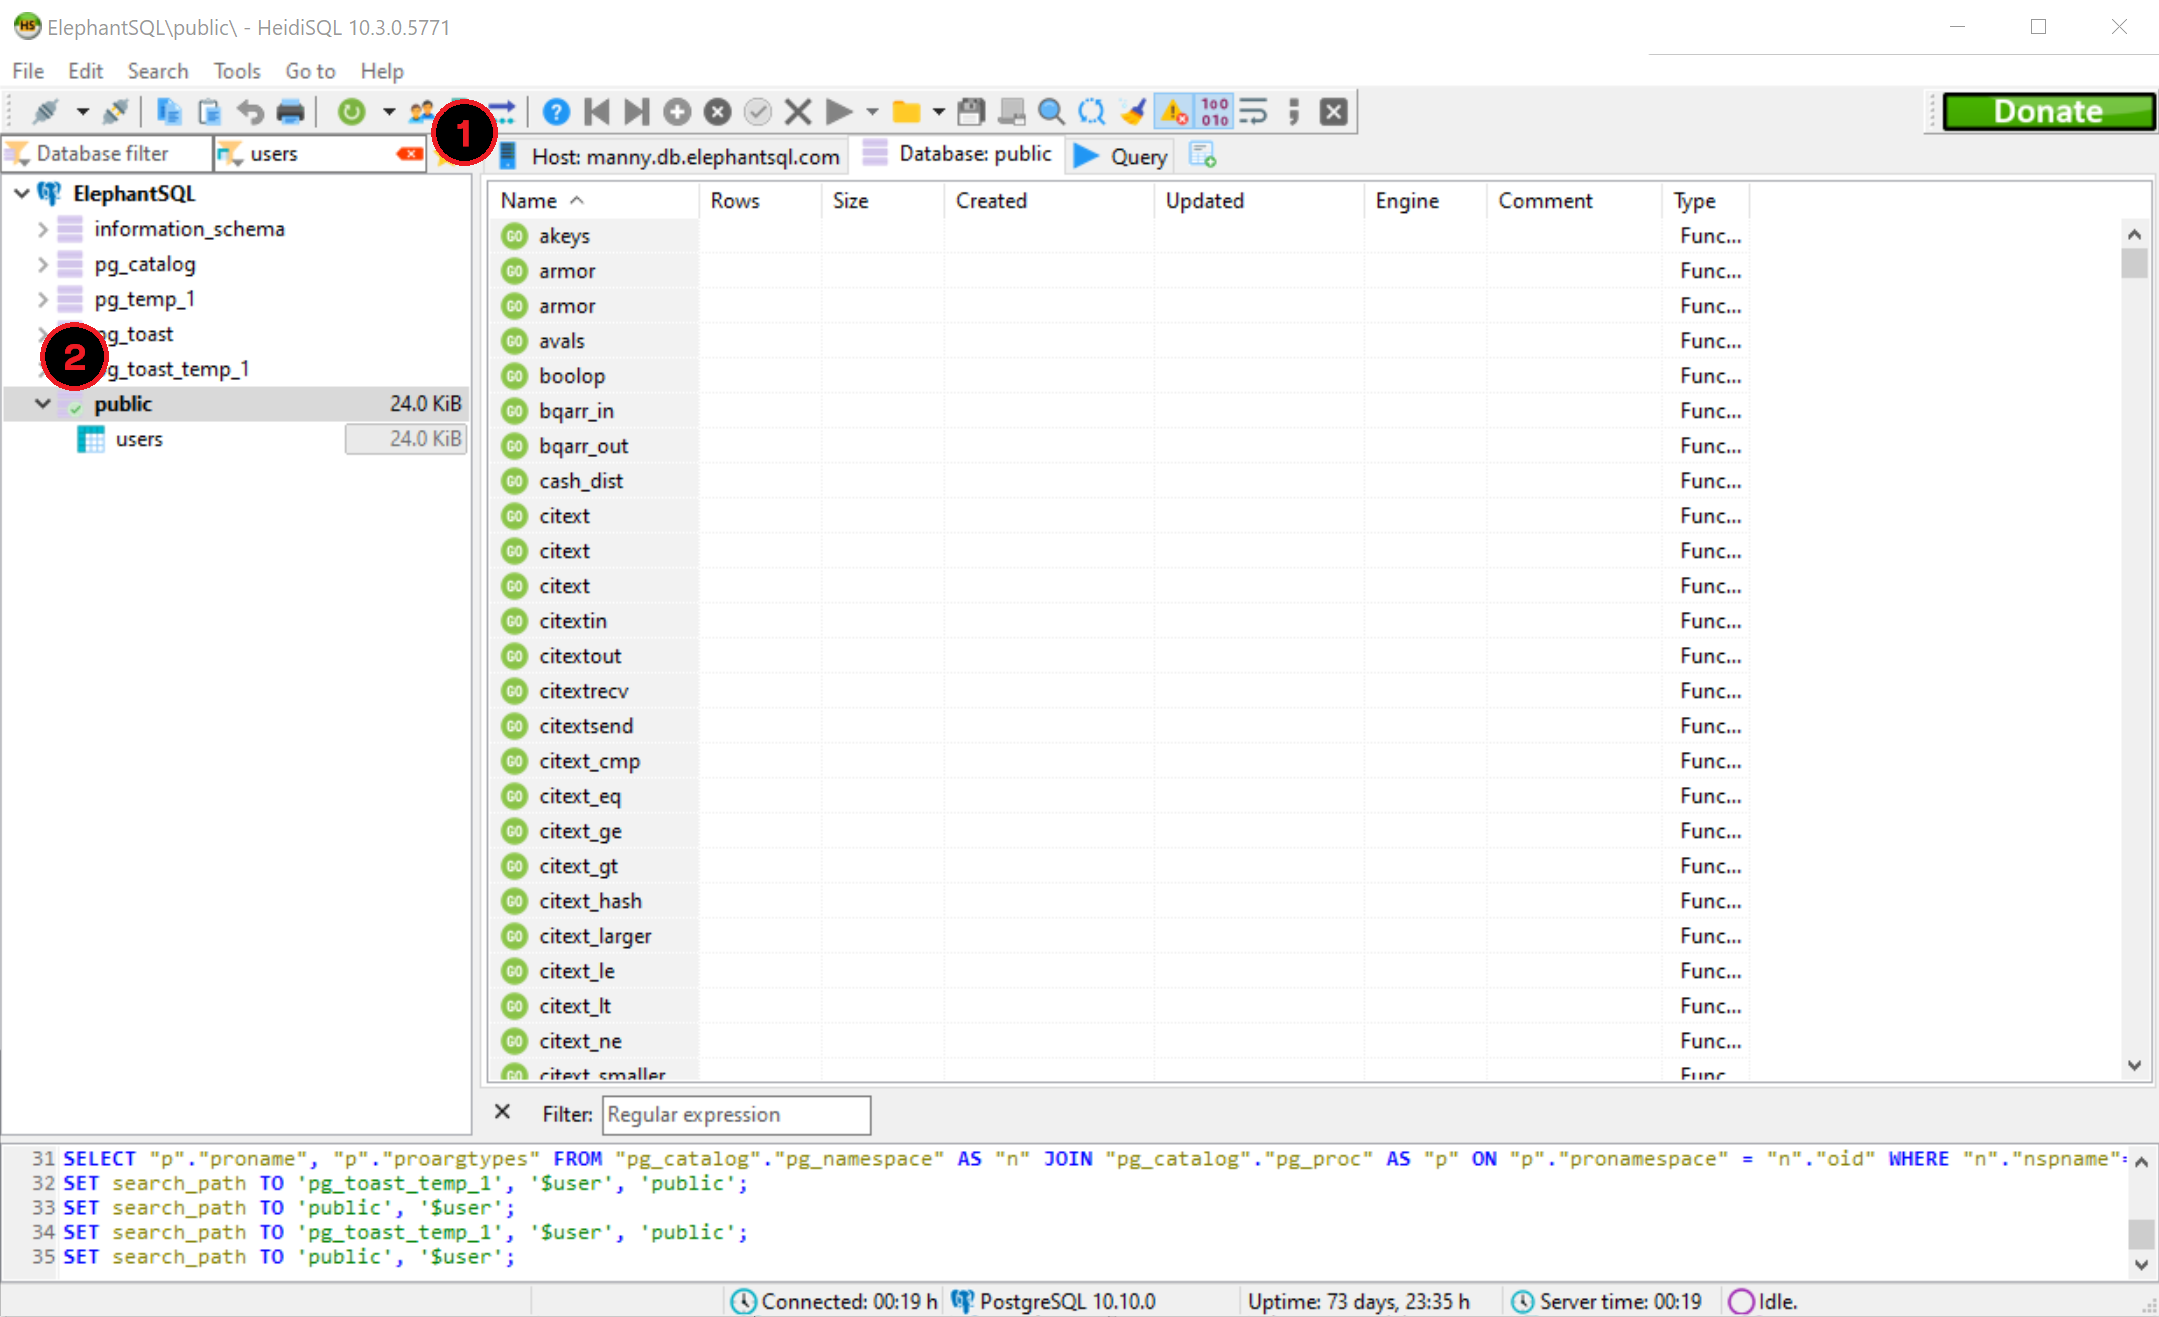
Then you can click on the users table, and two more tabs will open: "Table: users" and "Data".
"Table: users" can be used to modify the table itself. I recommend doing this via queries so that you get accustomed to using queries instead of a Graphical User Interface.
"Data" can be used to view, modify, and add data (by right-clicking) to the table. I also recommend doing this via queries, but nonetheless this can be quite handy to quickly see what's in the table.
Throughout the course I'll be using ElephantSQL, since it's what I expect most students to use as well.
Alright! Now that we can interact with our database, let's learn how to do it using Python!